How to Self Tan Your Back by Yourself
If you want to know how to self tan your back, the secret is working with light layers, stretching your range of motion, and taking things one step at a time. Getting a friend to help is the easiest option, but doing it solo is simple once you know the right pattern. Start with less product than you think you need. Spray Life Proof Tan directly onto the Tanning Mitt over a bathroom sink rather than spraying backward onto your skin. Reaching over your shoulders handles your upper back, while sweeping upward from your waist covers your lower back smoothly. Work in small sections using gentle circular motions, making sure to feather the areas where the two zones meet. Once finished, check for any missed spots with a handheld mirror or your phone camera.
How to Prep Your Skin for an Even Application
Tanning your back solo requires solid prep because you cannot easily scrub away mistakes once your color develops. Natural body oils, dead skin cells, and lotion residue can make self tanner grab unevenly across your shoulder blades or pool near your spine. Getting the surface smooth and clean ahead of time makes the application seamless and predictable.
Proper timing makes the biggest difference:
- Exfoliate gently the day before tanning with an oil-free scrub.
- Shave or remove body hair at least three hours before application.
- Avoid applying body lotion immediately before your tanning session.
- Apply moisturizer the night before or earlier in the day to hydrate rough areas without creating a slippery barrier.
- If you have very dry patches on your elbows or lower back, use a tiny amount of lotion earlier and let it sink in completely before you begin.
How to Prep Before You Self Tan Your Back
Reaching every inch of your back to clean and smooth your skin is simple with general bathroom essentials. Use a long-handled body brush or a textured shower cloth along with an oil-free body wash during your shower the day before. Work in light, circular motions across your shoulder blades, along your spine, and over your lower back.
Keep it gentle. You want smooth, clean skin so the tanner glides on without clinging to dry areas. If you are new to at-home tanning, our complete guide on how to self tan for beginners walks you through all the fundamental full-body preparation steps from start to finish.
Step-by-Step Guide on How to Self Tan Your Back
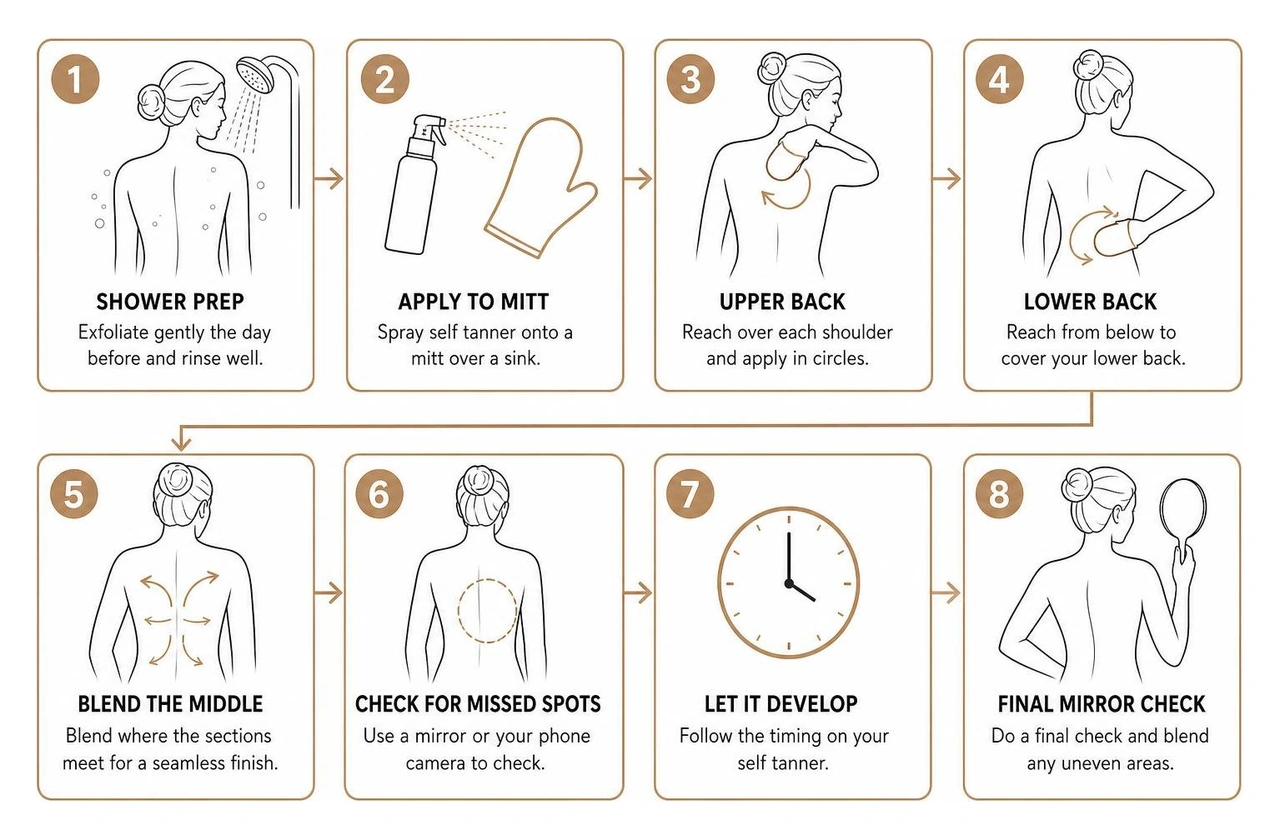
When applying self tanner to your entire body, do your back after your legs and torso. Always start with your legs and work upward, saving your hands and feet for the very end. This order helps you avoid bending and creasing while fresh product sits on your joints.
Upper and Lower Zone Method
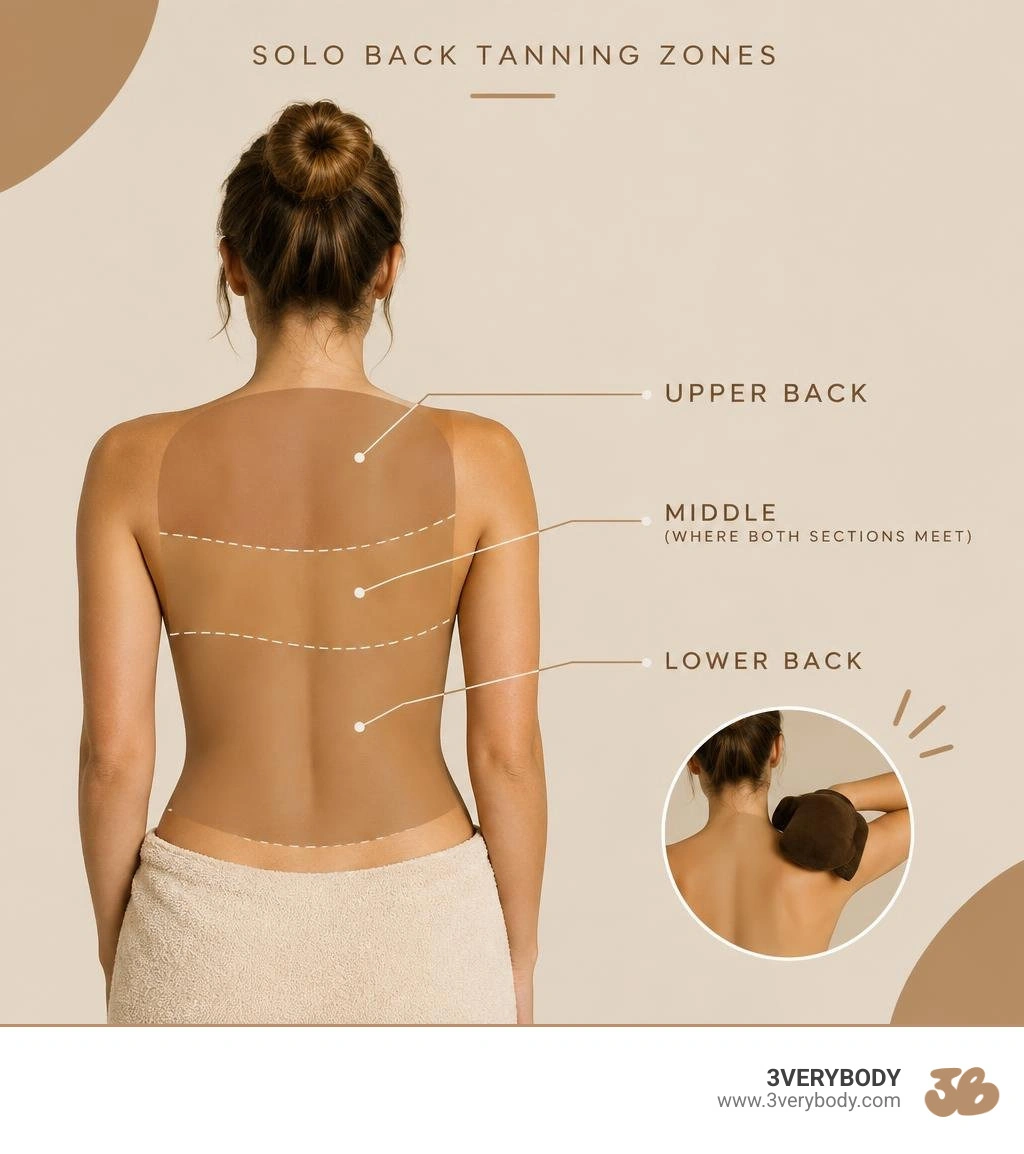
Splitting your back into two distinct zones keeps the process manageable and organized. Common mistakes to watch out for include a missed stripe down the spine, heavy edges on the shoulders, and drips.
- Upper Zone: Slip the mitt onto your dominant hand. Reach up and over your shoulder, sweeping downward in wide, overlapping circular motions. Switch hands to reach over the opposite shoulder, covering behind your neck, along the base of your hairline, and across the top of both shoulder blades.
- Lower Zone: Bring your arm around your waist from below. Reach upward from your lower back, sweeping the mitt upward toward your mid-back. Switch hands and repeat the upward motion on the other side to cover your lower flank and lumbar area.
- The Middle Blend: The center spine area is where a missed stripe down the spine often happens. Feather the edges where the upper and lower zones meet using light, sweeping motions to avoid heavy edges on the shoulders or visible lines across your back.
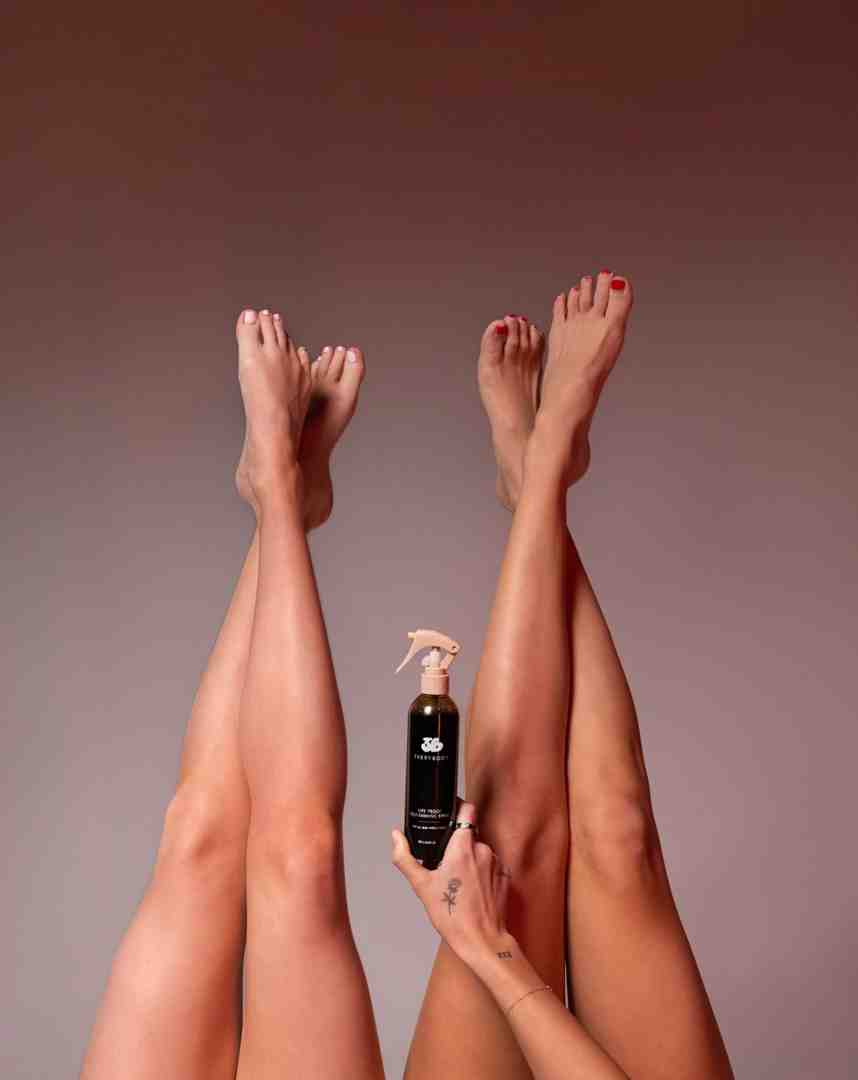
Using an 8 oz bottle of Life Proof Tan makes this easy because it is quick-drying and formulated to resist sweat, delivering a deep, natural-looking finish without feeling sticky on your skin. Its formula features argan, avocado, rosehip, and jojoba oils plus guarana extract.
How to Self Tan Your Back with a Standard Mitt
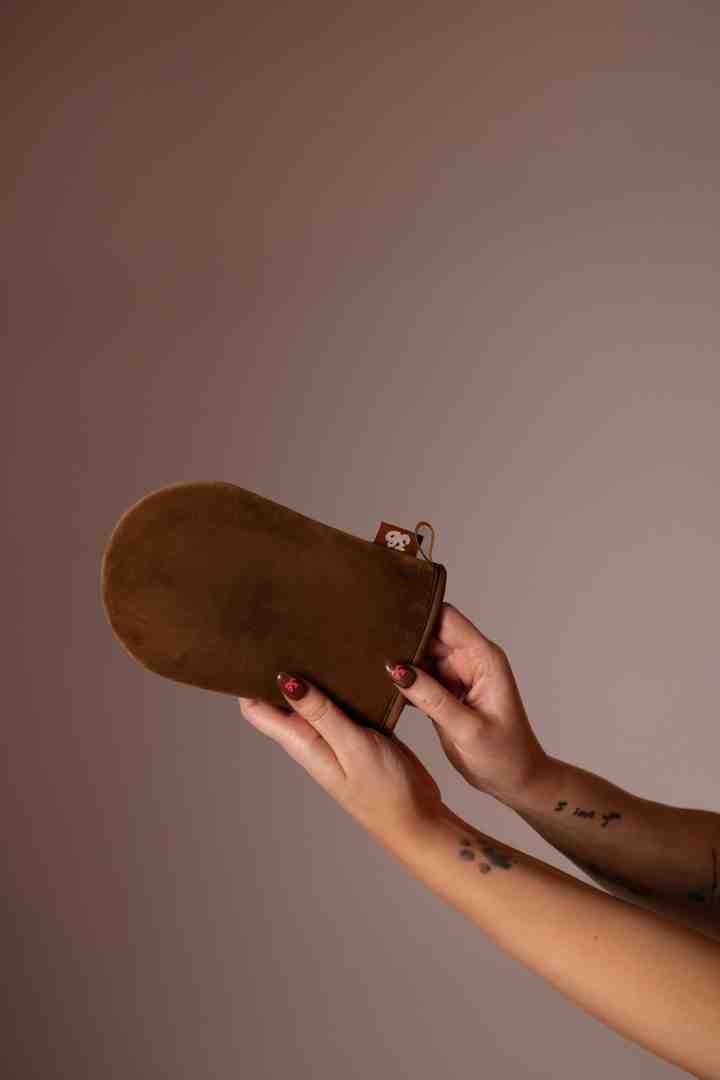
You do not need complicated tools to get smooth results. A plush, double-sided application tool like the tanning mitt applicator gives you total control over product placement.
Always hold your mitt over a sink when dispensing product. Spray your self tanner directly onto the plush surface of the Tanning Mitt rather than spraying backward over your shoulder to prevent accidental drips. Spraying straight onto your skin can cause drips and runs before you have a chance to blend.
Glide the Tanning Mitt over your back using light, steady pressure. The plush surface helps spread the color evenly. If you have light-colored tattoos or dark spots, take a damp Q-tip after application and gently wipe the fresh tanner off those areas to keep them crisp and clear.
Easy Alternatives for Hard to Reach Spots
If maneuvering a mitt behind your back feels tricky, mixing self-tanning drops into your everyday body moisturizer offers a forgiving alternative. Body lotion glides easily across the skin, giving you extra play time to work the product in before it sets.
| Method | Product Used | Best For | Application Tip |
|---|---|---|---|
| Zone Spray Blend | Life Proof Tan + Tanning Mitt | Deep, fast results | Spray over sink onto mitt; upper zone, then lower zone, then blend the middle |
| Drop & Lotion Mix | Tanning Drops + Daily Lotion | Forgiving, buildable color | Mix 4 to 6 drops per body section in your palms |
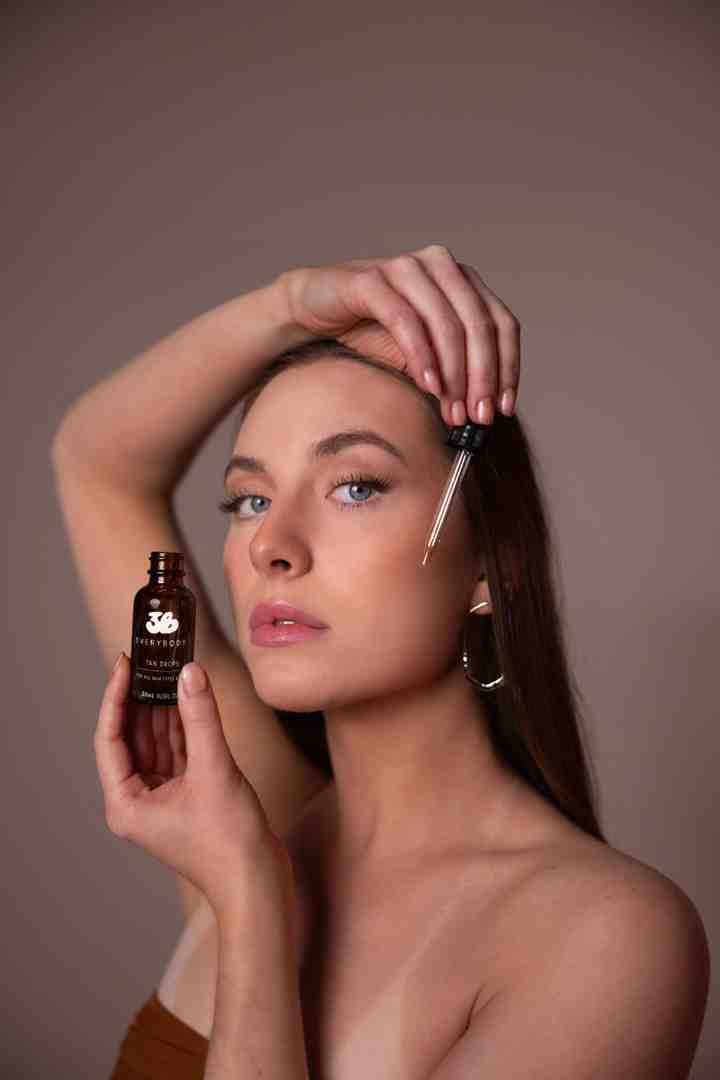
Using Tanning Drops allows you to customize the depth of your color while giving your skin a lightweight, hydrating feel enriched with rosehip oil and cucumber extract. Use 2 to 4 drops for your face and 4 to 6 drops per body part, mixed into moisturizer. Simply blend the drops into a pump of lotion in your hands, smooth it across your back using both arms, and wash your hands thoroughly with soap right after. For additional blending advice, learn how to self tan without streaks.
Aftercare and How to Fix Streaks on Your Back
Once your back is fully covered, step in front of a mirror with your back turned toward a second mirror, or hold up your phone camera to inspect your work.

Wait a few minutes before you get dressed, then slip into loose, dark clothing. Avoid tight waistbands, restrictive sports bras, or heavy sweating while your color develops.
- Wait at least one hour before rinsing, or sleep in the product overnight for a deeper finish.
- Keep your first rinse lukewarm and brief, without using soaps, body washes, or loofahs.
- Pat your skin dry gently with a soft towel instead of rubbing.
- Apply a daily moisturizer starting the day after your first rinse to support an even fade.
A 3VERYBODY tan lasts about a week with proper care. Once the color fades, start fresh from square one by exfoliating in the shower. If you notice an uneven area during wear, learn how to fix a patchy tan. You can also explore our helpful tanning blogs and tips for extra application advice whenever you need a quick refresher.
Frequently Asked Questions About Back Tanning
How do you check your back for missed spots?
The easiest way is to stand with your back facing a bathroom mirror while holding a small hand mirror in front of you. You can also turn on your phone front-facing camera, hold it over your shoulder, and check the screen for any uneven lines along your spine, underarms, or shoulder blades.
What should you do if your back tan looks uneven?
Streaks and orange tones usually come from overapplication, dry skin, rushed prep, or a shade too deep for your skin tone. A light second layer can help even out harsh lines. If it still looks patchy, exfoliate and start fresh from square one.
How long should you wait before washing off self tanner?
Wait at least one hour before your first rinse, or sleep in it overnight for best results. Keep your initial rinse lukewarm with water only, avoiding soaps, scrubs, and loofahs.
Can you tan your back without an applicator mitt?
While an applicator mitt provides the smoothest distribution, mixing tanning drops into your favorite body lotion allows you to use your bare hands. Just remember to wash your palms and fingers thoroughly with soap immediately afterward.
Conclusion
Tanning your back by yourself is easier than it looks. By taking a few extra minutes to prep, dividing your back into upper and lower zones, and applying product onto your mitt over a sink, you can get smooth, natural-looking color all on your own.
Ready to get started? Grab your Tanning Mitt and Life Proof Tan for an easy, streak-free routine. You can also pick up the 3VERYBODY Kit, which brings together Life Proof Tan, Tanning Drops, the Tanning Mitt, and a black drying towel for a smooth glow at home.