Why Streak-Free Tanning Is the Game-Changer You Need
Achieving a self tan without streaks is simpler than you think when you have the right approach and products. Here's exactly how to get that flawless, natural glow:
Quick Guide to Streak-Free Self Tanning:
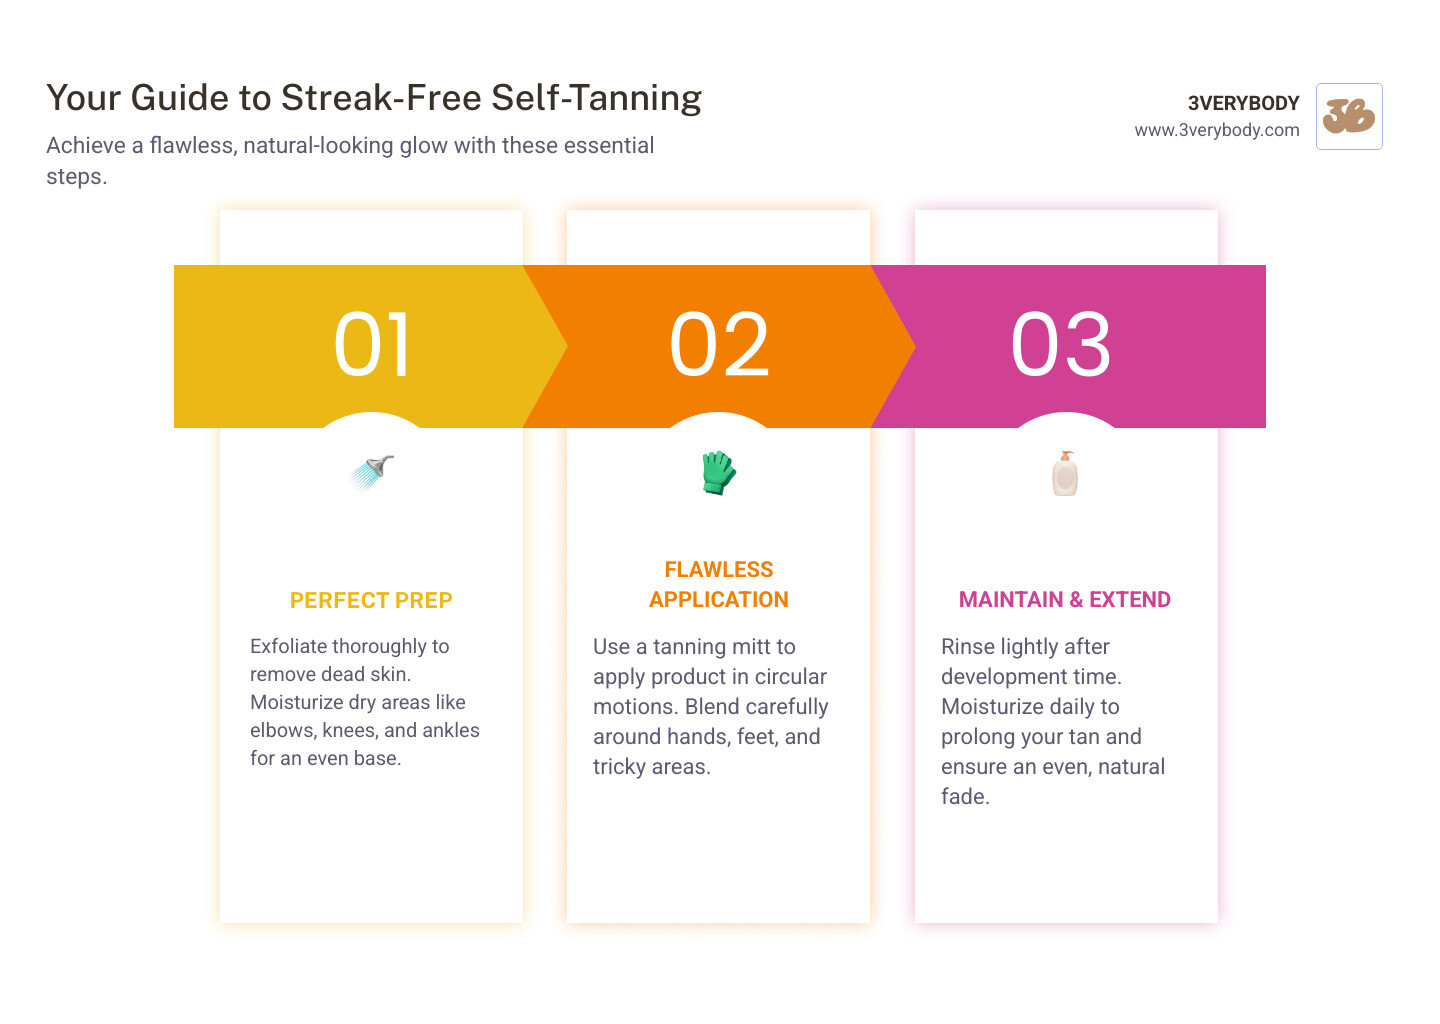
- Prep: Exfoliate 24 hours before, moisturize dry spots
- Apply: Use a double-sided mitt with water-light tanning formula
- Blend: Work in long strokes, finish with gentle circles
- Detail: Save hands and feet for last, use clean side of mitt
- Maintain: Quick rinse later, moisturize daily for even fading
Gone are the days of orange streaks, sticky formulas, and that telltale self-tanner smell. Modern tinted tanning waters dry fast, blend clean, and work beautifully on every skin tone from very fair to deep.
The secret isn't in complicated techniques or expensive salon treatments. It's in using water-light formulas that layer smoothly and a proper application method that prevents the patchy, uneven results that give self-tanning a bad name.
I'm Emmy, founder of 3VERYBODY, and I've spent over a decade testing nearly every self-tanner on the market before creating formulas that deliver a true self tan without streaks. After watching my mom and grandma battle skin cancer, I knew we needed safer options that actually work - no compromises on quality or results.
Step 1: The Pre-Tan Prep for a Perfect Canvas
Getting a self tan without streaks isn't about having perfect technique—it's about starting with the right canvas. Think of it this way: even the most expensive paint looks terrible on a bumpy, dirty wall. Your skin works the same way.
The good news? This prep work is actually pretty simple once you know what matters most.
Exfoliation: Your Key to an Even Base
Here's the deal: self-tanners work by reacting with dead skin cells on your skin's surface. If those cells are patchy or flaky, your tan will be too. Exfoliate your entire body 24 hours before tanning—this single step prevents most streaking issues.
Use a gentle, oil-free scrub and pay extra attention to rough spots like your knees, elbows, and heels. Skip oil-based products here because they leave a film that blocks your tanner from developing evenly.
I learned this the hard way during my early tanning experiments. One patchy, orange disaster taught me that smooth skin is everything.
Hair Removal & Other Treatments
Timing is everything when it comes to beauty treatments. Shave or wax at least 24 hours before applying your tanner—not the same day. Fresh shaving opens your pores, which can create tiny dots where the tanner settles. Plus, your skin needs time to calm down.
The same goes for manicures, pedicures, and hair coloring. Get these done first, then tan. You don't want a nail technician scrubbing off your perfect glow with an unexpected exfoliating treatment.
Moisturizing Dry Spots: The Secret Weapon
This step separates amateur tanners from pros. Your knees, elbows, ankles, and even around your nostrils are naturally drier and will grab more color than the rest of your skin. The result? Dark, obvious patches that scream "fake tan."
Apply a light layer of moisturizer to these extra-dry areas about 24 hours after exfoliating. This creates a subtle barrier that helps your tanner develop more evenly. Don't skip this—it's the difference between looking naturally sun-kissed and looking like you rolled in orange paint.
When you create this smooth, prepared base, even a basic tanner can look amazing. But pair good prep with our water-light formulas? That's when you get truly flawless results.
For the complete breakdown of skin prep, check out our Best Practices for Prepping Your Skin Before Applying Self-Tanner.
Step 2: Choosing Your Fighter: The Best Formulas for a Streak-Free Tan
Not all self-tanners are created equal, and honestly, that's where most people go wrong. The difference between a gorgeous self tan without streaks and an obvious orange mess often comes down to one thing: the formula you choose. After years of testing everything on the market (and trust me, I've seen some disasters), I can tell you that water-light formulas are absolute game-changers.
Water-Light Formula Superiority
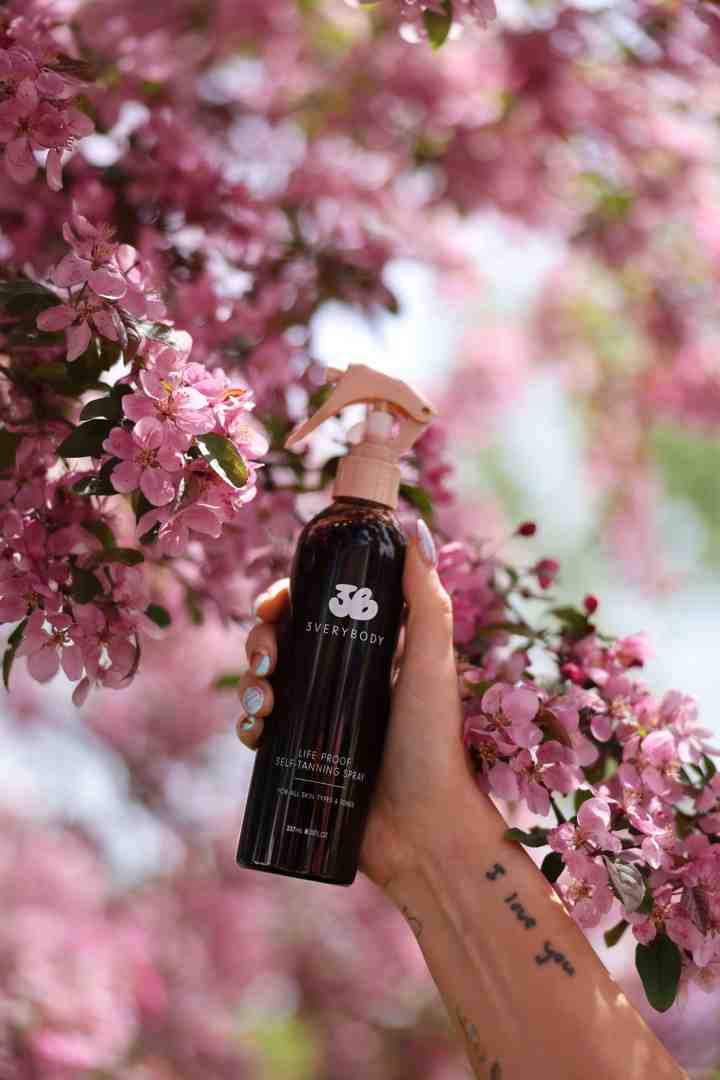
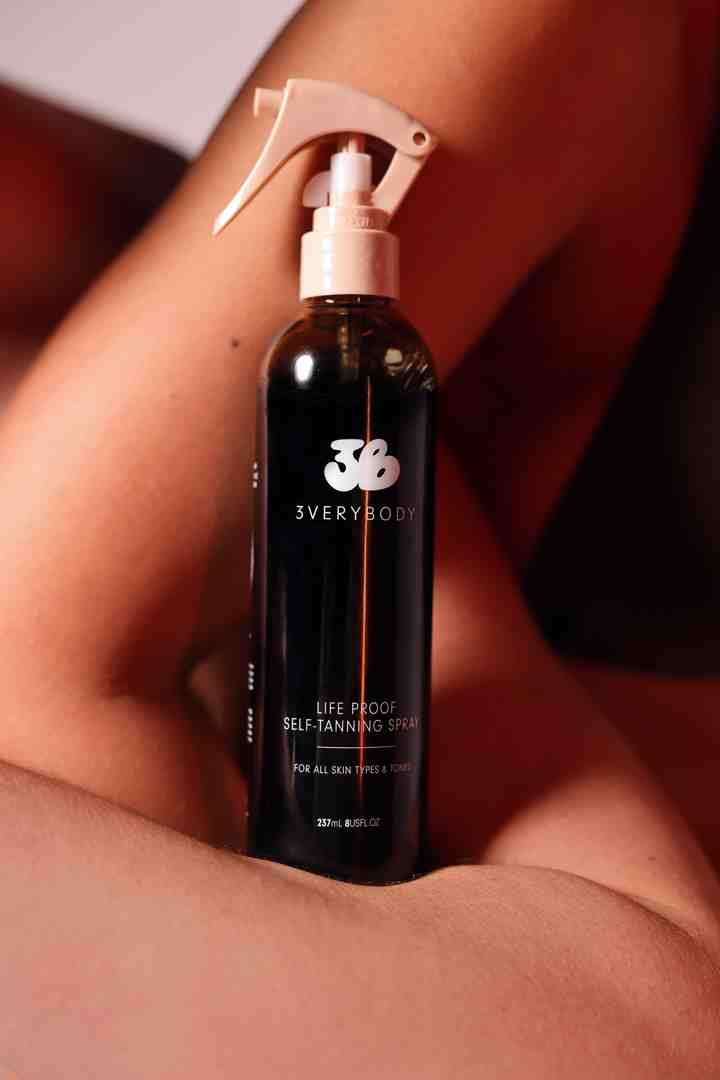
A thinner, water-light layer blends cleaner, dries faster, and looks natural from very fair to deep skin. That's exactly why we created our Tinted Tanning Water, which we call Life Proof Tan.
The benefits are immediate and obvious. Faster drying means you're not standing around naked for thirty minutes waiting to get dressed. Cleaner blending gives you that seamless finish without the telltale lines that scream "fake tan." And because it's sweat and transfer-resistant, your glow stays exactly where you put it - on your skin, not on your sheets.
Our Life Proof Tan is enriched with argan oil and cucumber oil for smooth application, plus caffeine and guarana extract that give your skin an extra boost. It's completely vegan, cruelty-free, and free from parabens and sulfates because your skin deserves better than harsh chemicals.
Gradual Tanning and Customizable Color
Sometimes you want total control over your tan, and that's where our Tanning Drops shine. These little bottles of magic mix seamlessly with your favorite moisturizer, serum, or face oil. More drops equal deeper color - it's that simple.
This buildable approach is perfect for anyone nervous about going too dark too fast. You can start with just a few drops to test the waters, then gradually build up to your ideal shade. The drops feature rosehip oil and cucumber extract for added skin benefits, and like all our products, they're vegan and free from parabens, palm oil, and sulfates.
Plant-derived DHA in both formulas ensures you get that natural-looking color without any orange undertones. We've carefully calibrated the percentage to work beautifully across all skin tones, from very fair to deep.
Avoiding the DHA Smell
Let's talk about the elephant in the room - that distinctive self-tanner smell that makes everyone wrinkle their nose. You know the one I'm talking about. Our formulas are specifically designed to minimize this scent, so you can enjoy your gorgeous glow without announcing to the world that you've been self-tanning.
The secret is in our natural color ingredients and careful formulation process. When you're using quality ingredients and the right ratios, you don't get that overwhelming chemical smell that follows you around for days.
Choosing the right formula truly is the foundation of achieving a self tan without streaks. Whether you go with our Life Proof Tan for that instant gratification or our Tanning Drops for complete customization, you're setting yourself up for success. Ready to dive deeper into application techniques? Check out our guide on how to apply self-tanning drops for expert tips.
Step 3: The Application Method to Achieve a Self Tan Without Streaks
Now comes the fun part – turning all that prep work into a gorgeous, natural glow. This is where I see most people get nervous, but honestly, achieving a self tan without streaks is so much easier than you think when you have the right technique and tools.

Our Life Proof Tan makes this whole process foolproof. Since it's tinted, you can actually see where you're applying it – no more guessing games or missed spots. The water-light formula glides on smoothly and dries quickly, so you're not stuck waiting around feeling sticky. And here's the thing: our double-sided Tanning Mitt isn't just a nice-to-have – it's absolutely essential for that even, professional finish you're after.
The mitt distributes the product evenly while protecting your palms from staining. Trust me, after testing dozens of application methods, this combination of tinted water and a quality mitt is what finally cracked the code on streak-free tanning at home.
For more on why the mitt makes such a difference, check out our detailed guide: Do I need to use a tanning mitt to apply self-tanner.
Mastering the Mitt for a self tan without streaks
Here's my simple method that works every single time. First, spritz the Tinted Tanning Water directly onto your mitt – don't spray it on your skin first. This ensures even distribution right from the start.
Start with your largest body areas like legs and torso. These are the easiest to reach and give you confidence before moving to trickier spots. Apply using long, sweeping strokes to cover maximum surface area smoothly. Think of it like painting a wall – you want those broad, even strokes first.
Once you've covered a section, switch to gentle circular motions to blend everything seamlessly. This is where the magic happens – those circles eliminate any lines and create that natural, airbrushed finish. The tinted formula lets you see exactly what you're doing, so you can blend until it looks perfect.
Don't be stingy with the product. I know it feels counterintuitive, especially if you have fair skin and you're worried about going too dark. But using too little product actually creates more streaks than using the right amount. One to two spritzes per section usually does the trick. You can always build up gradually, but patchy application is harder to fix.
Nailing the Details: Hands, Feet, and Face
These areas can make or break your tan. They're also where I see the most mistakes, so let's get them right.
Always save hands and feet for last. By this point, your mitt has just the right amount of residual product – not too much, not too little. The tops of your hands and feet need color, but they're prone to absorbing too much and looking unnatural.
Here's my trick: use whatever product is left on your mitt, then flip to the clean side for final blending. This gentle buffing motion around your knuckles, between fingers and toes, and around wrists and ankles creates seamless transitions. Some people love using a foundation brush for extra precision on hands – just spritz a tiny bit of product onto the brush and blend carefully.
Immediately wipe your palms clean with a makeup wipe. Nothing screams "fake tan" like orange palms.
For your face, I'm a huge fan of our Tanning Drops. Mix one to four drops with your regular facial moisturizer, and you get a customizable glow that integrates perfectly with your skincare routine. The drops contain rosehip oil and cucumber extract, so they're actually nourishing your skin while giving you that sun-kissed look.
Whether you use drops or our Tinted Tanning Water on your face, blend thoroughly into your hairline and down your neck. Those harsh lines around the face are dead giveaways, so take your time here.
Our facial products are non-comedogenic, so you don't have to worry about breakouts – a concern I hear about constantly from customers with sensitive skin.
For more natural-looking results, explore our complete guide: How to achieve a natural-looking tan without the sun.
The Post-Tan Routine for a long-lasting self tan without streaks
Your work isn't done once you've applied the tan. The next few hours and days determine whether you get a gorgeous, even fade or end up with patches.
The quick-dry benefit of our water-light formula means you can get dressed much sooner. But I still recommend giving it a few minutes to fully set. Throw on loose, dark clothing for the rest of the day – just in case.
Here's the part that trips people up: your first shower. After six to eight hours, take a lukewarm shower with no soap, no body wash, no scrubbing. Just let the water run over your skin until it runs clear. This rinses away the tinted guide color and reveals your actual tan underneath. Pat yourself dry gently – no vigorous towel rubbing.
Daily moisturizing is non-negotiable if you want your tan to fade evenly and last as long as possible. Well-hydrated skin holds onto color better and prevents that dreaded patchy fade. With proper care, your self tan without streaks can last anywhere from four to ten days, depending on your skin's natural turnover and how diligent you are with moisturizing.
This routine might seem detailed, but once you do it a few times, it becomes second nature. And the results? Absolutely worth it.
Oops! How to Fix Self-Tanner Streaks and Mistakes
Let's be honest—even with perfect prep and the best water-light formulas, sometimes things go sideways. Maybe you rushed through your legs, got a little heavy-handed on one ankle, or finded a streak you somehow missed during application. Don't panic! Self tan without streaks mishaps are totally fixable, and I'm here to walk you through exactly how to save your glow.
Gentle exfoliation is your first line of defense for most streak situations. If you notice light streaks or one area that's darker than the rest, hop in a lukewarm shower with a soft washcloth or gentle exfoliating mitt. Lightly buff the problematic area on wet skin—think gentle circular motions, not aggressive scrubbing. This helps blend the color and smooth out those telltale lines without stripping your entire tan.
For more stubborn streaks or overly dark spots (hello, orange knees), try the classic lemon juice and baking soda paste remedy. Mix a few tablespoons of baking soda with enough lemon juice to create a paste, then apply it to the problem areas. Let it sit for 5-10 minutes before gently rubbing it in with a washcloth. The baking soda provides gentle abrasion while the lemon juice's natural acidity helps lighten the color. Just remember to moisturize afterward since this method can be a bit drying.
Makeup wipes are absolute lifesavers for small, fresh mistakes. Jennifer Materia, founder of GLOW airbrush tanning studio, swears by this trick: "Anywhere else, I just use a makeup wipe and rub gently, and it takes away any mistakes." Keep them handy during application for immediate touch-ups around your wrists, between fingers, or anywhere you see a little too much color building up.
If your tan turned out darker than expected overall, a few extra showers with soap can help tone things down. The soap will gradually lift some of the color, making your tan appear less intense. For complete tan disasters (we've all been there!), more thorough exfoliation with a scrub will remove the top layer of tanned skin and give you a fresh start.
The key is patience and a light touch. Most self tan without streaks mishaps are easily correctable with these simple fixes. For more guidance on avoiding these issues from the start, check out our Tips for Avoiding Common Self-Tanning Mistakes.
Frequently Asked Questions about Flawless Tanning
We get a lot of questions about achieving that perfect self tan without streaks. After helping thousands of people find their perfect glow, these are the questions that come up most often. Let me share what we've learned from real customers and industry experts.
How long does a streak-free tan last and how does it fade?
A well-applied self tan without streaks typically lasts anywhere from 4 to 10 days, but the real magic happens in how it fades. The difference between a gorgeous tan and a patchy mess often comes down to one simple habit: daily moisturizing.
Here's what actually affects your tan's longevity. Formula quality makes a huge difference - our Tinted Tanning Water is specifically designed for longer wear and more even fading. Proper skin prep creates that smooth canvas we talked about, helping your tan adhere better from day one.
But the game-changer? Post-tan care. I can't stress this enough: hydrated skin retains its tan better and fades beautifully. Without consistent moisturizing, even the most perfectly applied tan can become patchy as your skin naturally sheds. Think of it like watering a plant - consistency is everything.
Activities like excessive sweating, long hot showers, harsh soaps, and scrubbing can all speed up fading and create those telltale patches. Our goal is for your tan to fade gradually and evenly, much like a natural sun tan, rather than flaking off in noticeable spots that scream "fake tan."
Can I use body tanner on my face?
While it might seem convenient to use your body self-tanner everywhere, we generally advise against using body products on your face. Facial skin is often more sensitive and prone to irritation or breakouts than body skin. Body self-tanners can contain ingredients that are too harsh or heavy for the delicate facial area.
There's also the comedogenic concern - body tanners can be more pore-clogging and oily, potentially leading to breakouts, especially if you have acne-prone skin. As board-certified dermatologist Dr. David Kim explains, "I would not use body self-tanner on the face."
Your face might also tan differently than your body, and a body formula could result in an unnatural color for your complexion. Dedicated facial products are formulated lighter, non-comedogenic, and often contain additional skincare benefits designed specifically for facial use.
For your face, we highly recommend our Tanning Drops. They're designed to be mixed with your existing facial moisturizer, serum, or face oil, allowing for a customized, subtle glow without irritation or clogged pores. This ensures your face matches your body perfectly, with a natural, healthy radiance that looks like you just got back from vacation.
Is the DHA in self-tanner safe for my skin?
Dihydroxyacetone (DHA) is the main active ingredient in nearly all self-tanning products, including ours. It's a sugar-based compound that reacts with the amino acids in the top layer of your skin to produce a brown pigment, creating that temporary tan. This chemical reaction is actually similar to how bread toasts or sugar caramelizes.
The good news about safety? The FDA approval for external use considers DHA safe for topical use on the skin. The main concern arises if DHA is inhaled or ingested, particularly during spray tanning sessions in salons. However, studies have shown that when used externally as intended with lotions, waters, and drops, DHA is not absorbed into the bloodstream.
Our products are formulated specifically for external application. We use plant-derived DHA, and our water-light formulas mean less aerosolization compared to spray tans, further minimizing any potential inhalation concerns. For those with very fair skin, opting for products with a lower percentage of DHA (typically 1-3%) helps achieve a natural color and avoid any orange undertones.
The reaction with your skin's top layer is completely surface-level - it's literally just affecting the dead skin cells that would naturally shed anyway. That's why your tan fades gradually as your skin renews itself, which is exactly how it should work.
Your Flawless Tan Awaits
You now have everything you need to achieve that perfect self tan without streaks. From the essential prep work that creates your smooth canvas to the precise application techniques that ensure even coverage, you're equipped with the knowledge to get salon-quality results at home.
The game-changer? Water-light formulas that dry quickly and blend seamlessly, paired with the right tools and techniques. No more worrying about orange streaks, sticky residue, or that telltale self-tanner smell that gives away your glow.
At 3VERYBODY, we built this brand because we believe everyone deserves to feel confident and radiant in their own skin. As a woman-owned company, we're committed to inclusivity-first formulas that work beautifully on every skin tone and type. Our products are creator-approved by beauty experts like HopeScope, who loved how our tinted tanning water delivers natural-looking results without the common pitfalls of traditional self-tanners.
Whether you choose our Life Proof Tan for that instant, streak-free glow or our customizable Tanning Drops for a gradual build, you're investing in formulas that are vegan, cruelty-free, and designed with your skin's health in mind. Our double-sided Tanning Mitt ensures even application every time, and together, these products create the complete solution for flawless at-home tanning.
Your confidence is waiting. That natural, sun-kissed glow that looks like you just returned from vacation? It's not just possible—it's about to be your new reality.
Get your salon-quality results at home with the 3VERYBODY Kit
