The Beginner's Fear of Self-Tanning Is Real — Here's What to Know First
Learning how to self tan for beginners doesn't have to mean orange knees, streaky shins, or stained palms. Most people get tripped up by skipping prep or using too much product — not because self-tanning is hard.
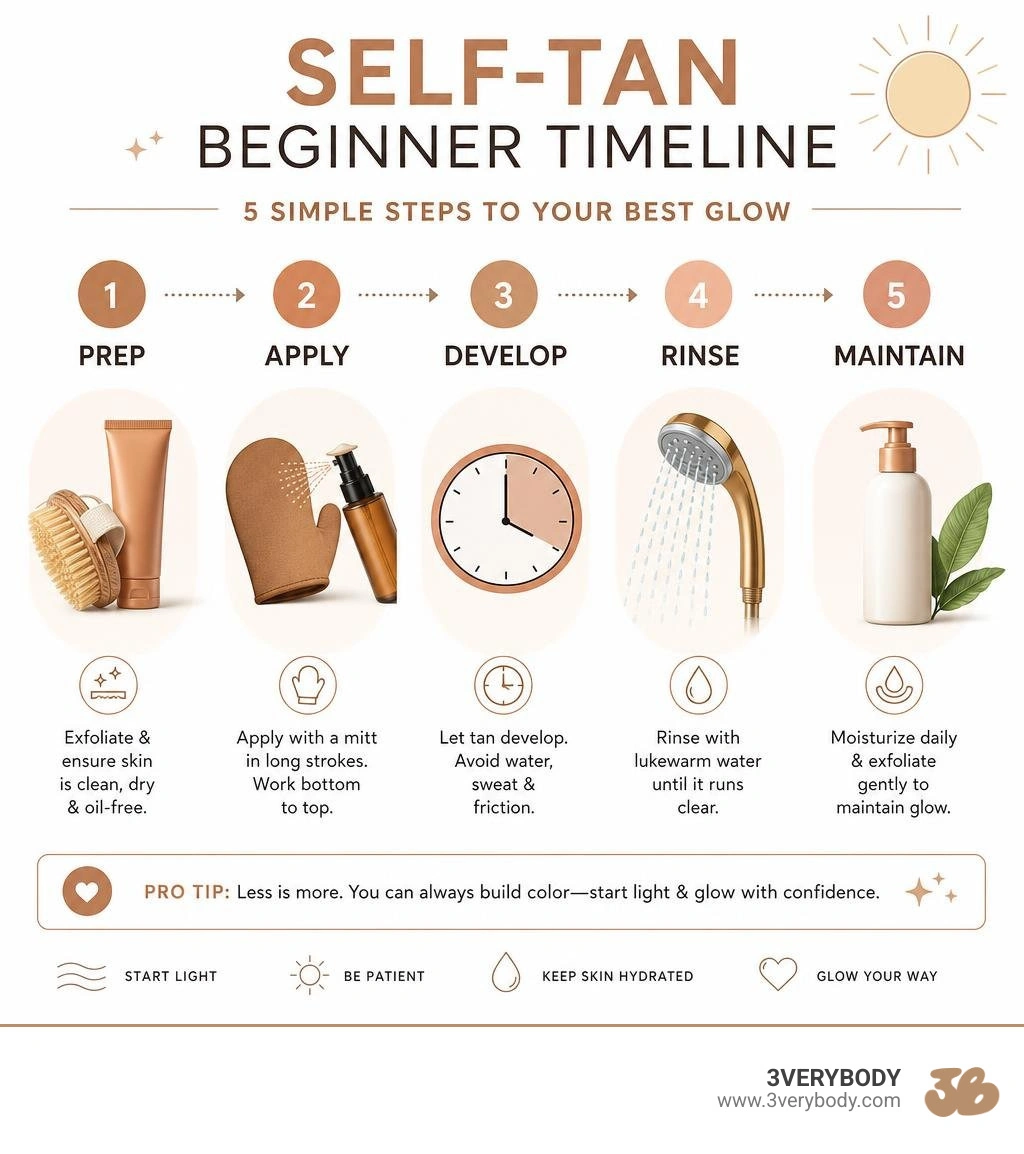
Here's the short version if you just want the basics:
- Exfoliate with an oil-free scrub at least 3 hours before applying (shave at the same time if needed)
- Apply lightly to dry areas like elbows and knees before tanning
- Use a mitt — spritz your tanning formula onto it, then smooth on in long strokes with gentle circles
- Work bottom to top — legs first, then torso, arms, and face last
- Leave hands and feet for last, blending with the clean side of your mitt
- Let it develop — avoid water, sweat, and friction while it sets
- Rinse with lukewarm water (no harsh soaps) and moisturize daily after
That's the core of it. The rest of this guide fills in the details — product choice, tricky spots, how to fix mistakes, and how to make it last.
Self-tanning has come a long way. Formulas today are genuinely easier to use than they were even five years ago. Still, a lot of first-timers hold back because they're scared of going too dark, too orange, or too streaky. Those fears make sense — but they're also fixable with the right steps and the right format.
I'm Emmy Bre, founder of 3VERYBODY, and I spent over a decade testing nearly every self-tanner on the market before building a formula that works across all skin tones and is designed to help reduce the risk of orange tones or mess — which is exactly why I know how to self tan for beginners matters so much to get right from the start. Let's walk through everything you need to know.
Choosing Your Format: Why Water-Light Formulas Win
When you are starting out, the sheer number of product formats can feel overwhelming. You will see lotions, sprays, drops, and waters. Many classic guides, like this piece on how to start using self-tanner from The Cut, talk about heavy creams or traditional thick formulas.
At 3VERYBODY, we do things differently. We focus on lightweight, water-light layers. Through years of testing, we found that a thinner, water-light layer blends cleaner, dries faster, and is designed to help create an even glow from very fair to deep skin. Heavy creams may feel heavier, take longer to dry, or be more likely to transfer. Water-light formulas absorb easily, helping to reduce the risk of streaks.
To find your perfect match, you first want to think about your starting skin tone and your goals. We have a complete guide on how to choose the right self tanner for your skin tone to help you navigate this, but here is a quick look at how our two main water-light formats compare:
| Feature | Tanning Drops | Life Proof Tan |
|---|---|---|
| Best For | Customizable color, face, and targeted body areas | Full-body application, active lifestyles |
| Application | Mixed with your favorite daily moisturizer | Spritzed directly onto a mitt and swept over skin |
| Feel | Lightweight and hydrating | Water-light, quick-drying |
| Key Benefits | Great for building color gradually | Sweat-resistant and transfer-resistant |
How to self tan for beginners using Tanning Drops
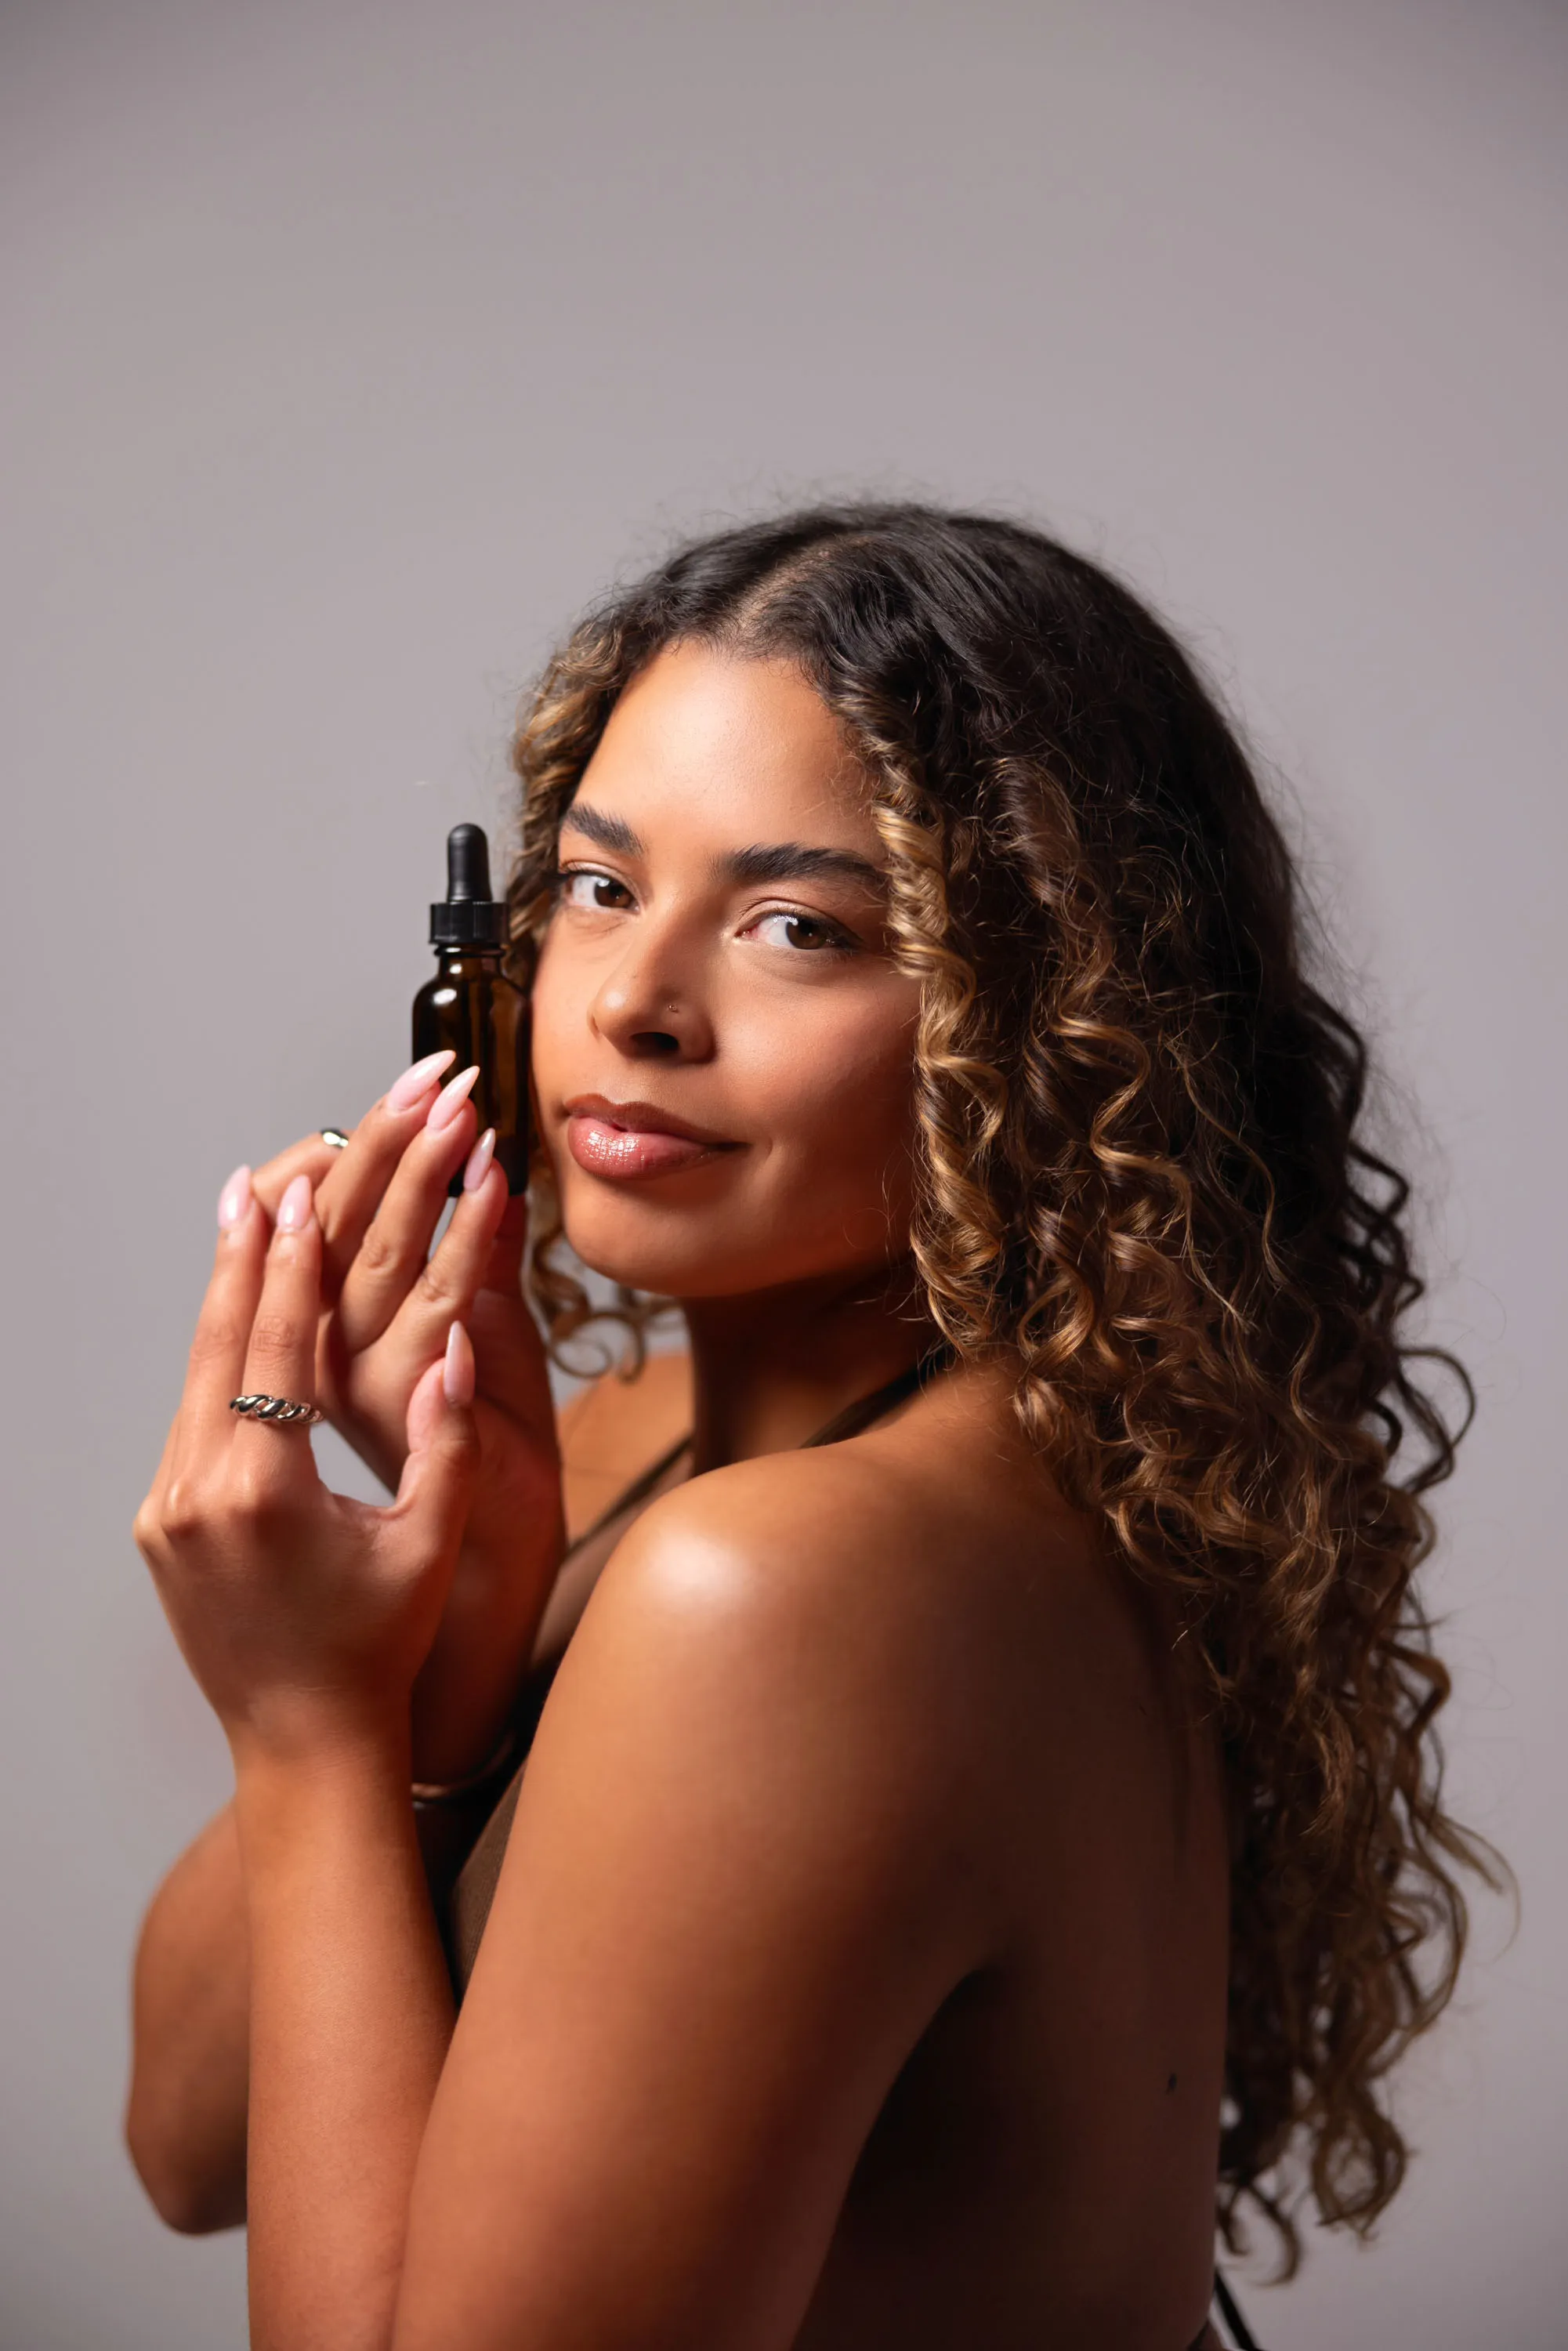
If you want complete control over your shade, Tanning Drops are a fantastic entry point. They allow you to turn your favorite existing body lotion or facial moisturizer into a custom self-tanner.
Our Tanning Drops are designed for both face and body use, offering a lightweight feel that is quick-drying. They are enriched with rosehip oil and cucumber extract to support a hydrating feel, and they are vegan and free from parabens, palm oil, and sulfates.
To use them, you simply mix a few drops with your lotion in the palm of your hand, apply evenly, and wash your hands afterward. It is a low-stress way to ease into sunless tanning because you can start with just 2–3 drops to see how your skin responds, then add more next time to build depth. For a detailed walkthrough, check out our guide on how to apply self tanning drops.
The benefits of Life Proof Tan for first-timers
For a full-body glow, Life Proof Tan is our favorite recommendation for beginners. Because it has a subtle tint, you can see where the product is going as you apply it. This makes it incredibly easy to spot any missed patches before your color starts to develop.
Life Proof Tan is designed to be sweat-resistant and transfer-resistant, helping to reduce transfer onto your clothes or sheets. It is quick-drying, non-orange, and formulated with argan oil, cucumber oil, caffeine, and guarana extract. Like all of our formulas, it is vegan, cruelty-free, and free from parabens and sulfates.
Step 1: Prep Your Skin the Right Way
Ask any professional tanner and they will tell you the same thing: your application is only as good as your preparation. Because self-tanning active ingredients (DHA) react with the dead skin cells on the surface of your body, an uneven surface leads to an uneven tan.
To get the best canvas, we recommend reviewing the best practices for prepping your skin before applying self tanner. The two essential steps of prep are timing your hair removal and exfoliating gently.
- Shaving and Waxing: Do this at least 3 hours before you plan to tan. This gives your pores enough time to close back up. If you apply self-tanner immediately after shaving, the product can settle into open hair follicles, creating tiny dark dots.
- Exfoliation: Use a gentle, oil-free scrub or an exfoliating mitt in the shower. Pay special attention to areas where dead skin builds up, like your shins, ankles, knees, and elbows. Understanding the importance of exfoliation in self tanning routines is key to preventing the product from clinging to dry patches and creating dark spots.
Should you moisturize before self-tanning?
This is one of the most common questions beginners ask. The short answer is: yes, but only in specific spots.
You should avoid putting moisturizer all over your body right before tanning, as it can act as a barrier and prevent the self-tanner from absorbing evenly. However, you do want to use it as a strategic barrier cream on your driest areas.
We dive deep into this balance in our article on should you moisturize before self tanning. Before you begin your application, apply a very light layer of an oil-free moisturizer to your elbows, knees, wrists, heels, and the knuckles of your hands and feet. This helps dilute the formula in those high-absorption areas so they do not develop too dark.
Step 2: How to Self Tan for Beginners Step-by-Step
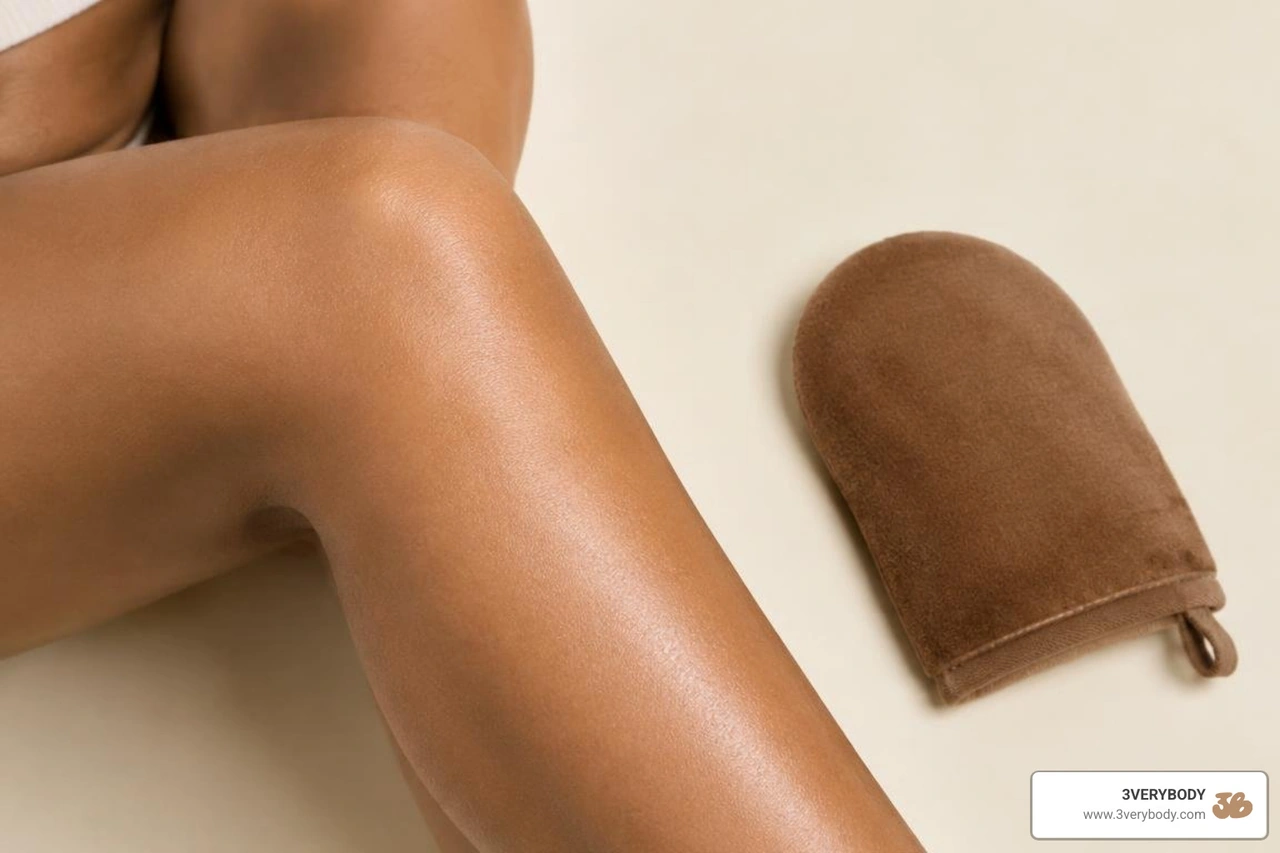
Now that your skin is prepped, dry, and primed, it is time to apply. Grab your tools — we strongly recommend using a double-sided, washable applicator like The Mitt for even control and to keep your palms clean.
For an even finish, we recommend working from the bottom up. This prevents you from creasing or smudging the tan on your stomach or torso when you bend over to do your legs.
First, spritz Life Proof Tan directly onto The Mitt. Do not spray it directly onto your skin, as this can lead to running or spotting. Once the product is on The Mitt, smooth it onto your skin using long, sweeping vertical strokes, followed by gentle circular motions to buff out the edges. For more detailed pointers, see our collection of self tanner application tips and check out the classic step-by-step guide for beginners on Talking Tan.
Mastering the application on hands, feet, and face
Hands, feet, and the face are the ultimate giveaway areas if a self-tan is applied unevenly. The secret here is to use whatever product is left over on The Mitt after you have finished your arms and legs. You do not need to add fresh spritzes of Life Proof Tan for these areas.
- For the Face: Lightly sweep the mitt over your face, blending carefully into your hairline, jawline, and down your neck.
- For the Hands and Feet: Put your hands into a loose "claw" position to stretch the skin over your knuckles. Gently sweep the mitt over the tops of your hands and down each finger. Do the same for your feet, blending carefully around your ankles and heels.
- The Clean Side Blend: Use the clean, dry side of The Mitt to buff around your wrists, the sides of your feet, and between your fingers. This helps remove excess product before it can settle. If you do happen to get too much color on your hands, don't panic — read our tips on how to get fake tan off hands to clear it up quickly.
How to self tan for beginners on hard-to-reach areas
Tanning your own back can feel like a gymnastics routine, but a lightweight mist makes it much easier.
Life Proof Tan is designed to help with hard-to-reach spots because the mist disperses evenly. You can spritz the mist into the air and walk backward into it, or attach The Mitt to a clean lotion applicator or even a wooden spoon secured with a hair tie to extend your reach.
When blending your joints, like the back of your knees and the insides of your elbows, make sure to keep your limbs straight for a few minutes after application. For a complete breakdown of spray techniques, check out our step-by-step guide to using self tanning sprays.
Step 3: Development, Rinsing, and Maintenance
Our water-light formulas are designed to be quick-drying, meaning they are touch-dry in a few minutes. Once you feel dry, slide into loose, dark clothing. Avoid tight waistbands, straps, or light-colored fabrics while your tan is developing.
Most self-tanners require 6–8 hours for the DHA to fully develop. During this window, you must avoid sweat, water, and friction. Many beginners find it easiest to apply their tan before bed and rinse it off in the morning. For more on what to expect during this phase, read our guide on how long to wait to shower after applying self tanner.
When it is time to rinse, hop into a lukewarm shower. Avoid harsh soaps, heavy scrubbing, hot showers, and drying cleansers. Simply let the water run over your skin until it runs clear, then gently pat yourself dry with a towel. As noted in the expert tips on applying self-tan for beginners from Metro News, keeping your first shower gentle is crucial for protecting the early stages of your color.
How to make your self-tan last and fade evenly
Once your color has developed, a little daily maintenance goes a long way. A well-maintained sunless tan can last about a week with proper care.
To keep your color looking fresh, we have gathered our favorite strategies in our guide on how to make your self tan last longer. The most important step is daily moisturizing with a lightweight, oil-free lotion to keep your skin hydrated.
If you live in a warm climate or enjoy working out, you can dust a little baby powder into high-sweat areas (like the inner elbows, underarms, and under the breasts) to help absorb moisture and reduce friction. Finally, avoid heavy scrubbing, hot showers, and drying cleansers, as these can speed up skin shedding; instead, keeping your skin hydrated helps support an even fade.
Troubleshooting: How to Fix Common Mistakes
Even with the best preparation, mistakes can happen. If you notice streaks or patchiness once your tan develops, there are easy ways to handle them without starting over.
If you are looking to correct a mistake, we recommend checking out our tips for avoiding common self tanning mistakes as well as our deep dive on mastering the art of self tanning for an even finish.
Here is a quick reference guide to troubleshooting common beginner issues:
- Streaks or Dark Lines: Gently buff the area with a damp washcloth and a tiny bit of body scrub to soften the line, then blend a tiny bit of moisturizer over the area.
- Orange Tones: It is a common myth that synthetic ingredients always cause orange tones. In reality, orange tones usually happen because of overapplication, dry skin, poor prep, or choosing a shade that is too deep for your starting skin tone. To prevent this, always start with a lighter application and build up.
- Dark Knees or Elbows: If these areas look too dark, it means they absorbed too much DHA. Take a warm bath to soften the skin, then gently use an exfoliating mitt to lift the excess color.
Frequently Asked Questions About Sunless Tanning
Is self-tanning safer than sun tanning?
Yes, absolutely. Dermatologists and skin health organizations strongly recommend sunless tanning over UV tanning. Traditional sunbathing and tanning beds expose your skin to harmful UV radiation, which causes cellular damage and premature aging. Self-tanners work strictly on the outermost layer of dead skin cells and do not cause DNA damage. However, keep in mind that self-tanner does not provide UV protection, so you must still wear sunscreen daily.
How do I choose the right shade?
You should choose your shade based on your starting skin tone, your natural undertones, and your desired color intensity. If you have very fair skin, starting with a subtle, buildable formula like our Tanning Drops mixed with moisturizer is a great way to avoid going too dark too fast. If you have medium or olive skin, Life Proof Tan will help enhance your warmth.
How often should a beginner reapply self-tanner?
For beginners, we suggest starting with a weekly routine. Apply your tan, enjoy the glow for 5–7 days as it naturally fades, and then gently exfoliate any remaining color before reapplying. This prevents product buildup and supports a clean, even canvas every single time.
Conclusion
At 3VERYBODY, we believe that achieving a beautiful, even glow should be simple, inclusive, and comfortable for every skin type and tone. By choosing water-light, quick-drying formulas and following the right preparation steps, you can easily master the art of sunless tanning at home.
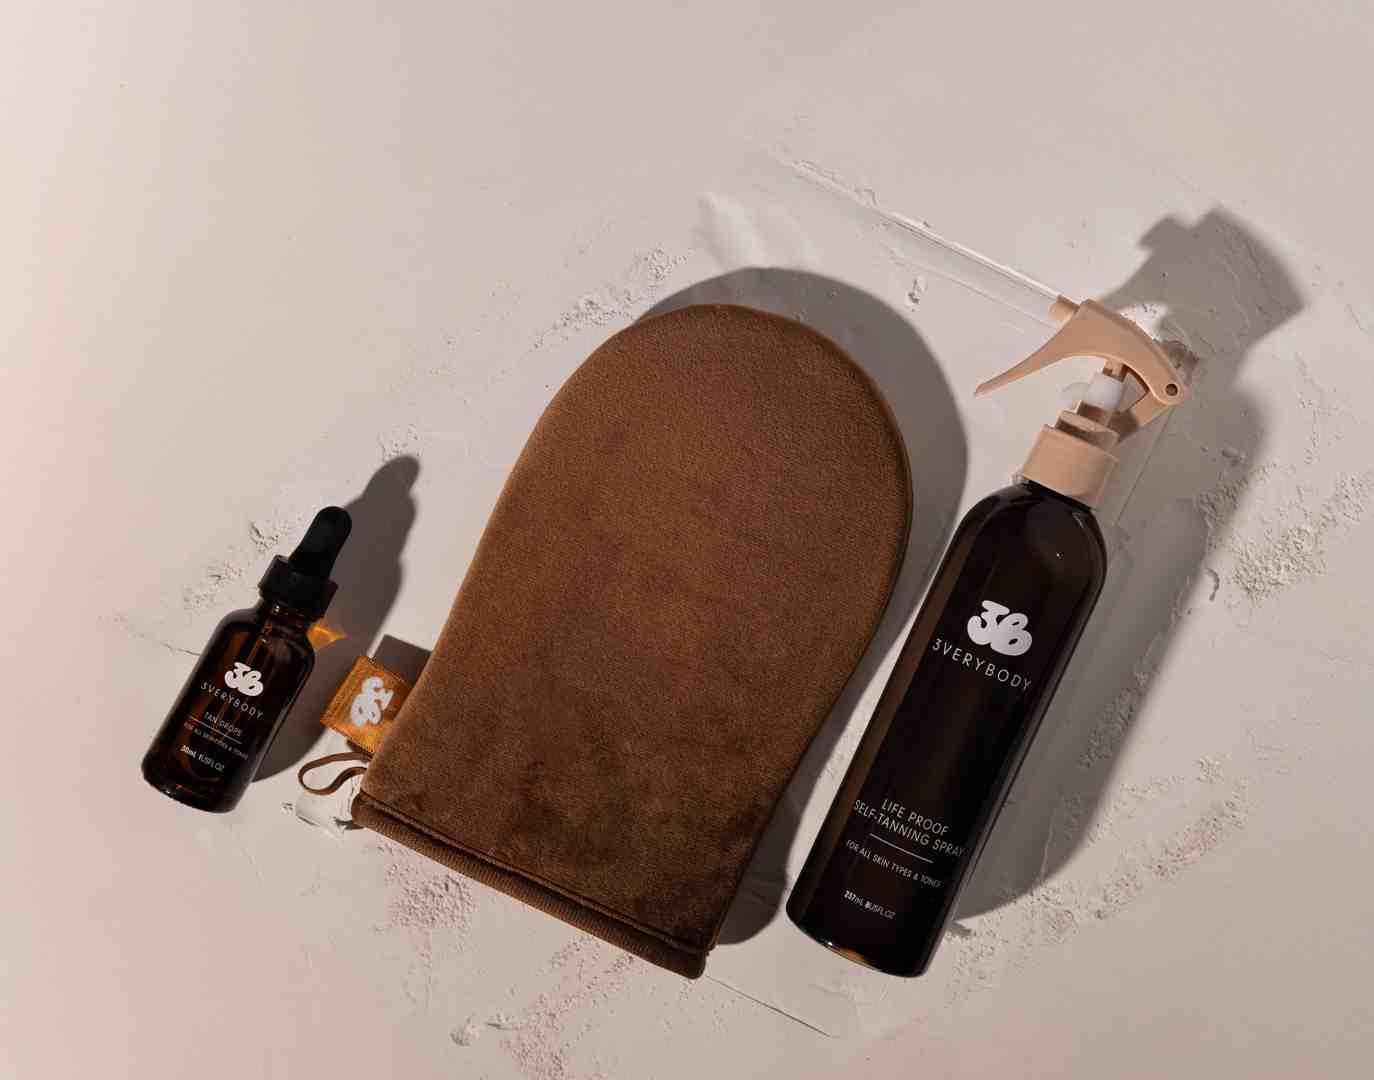
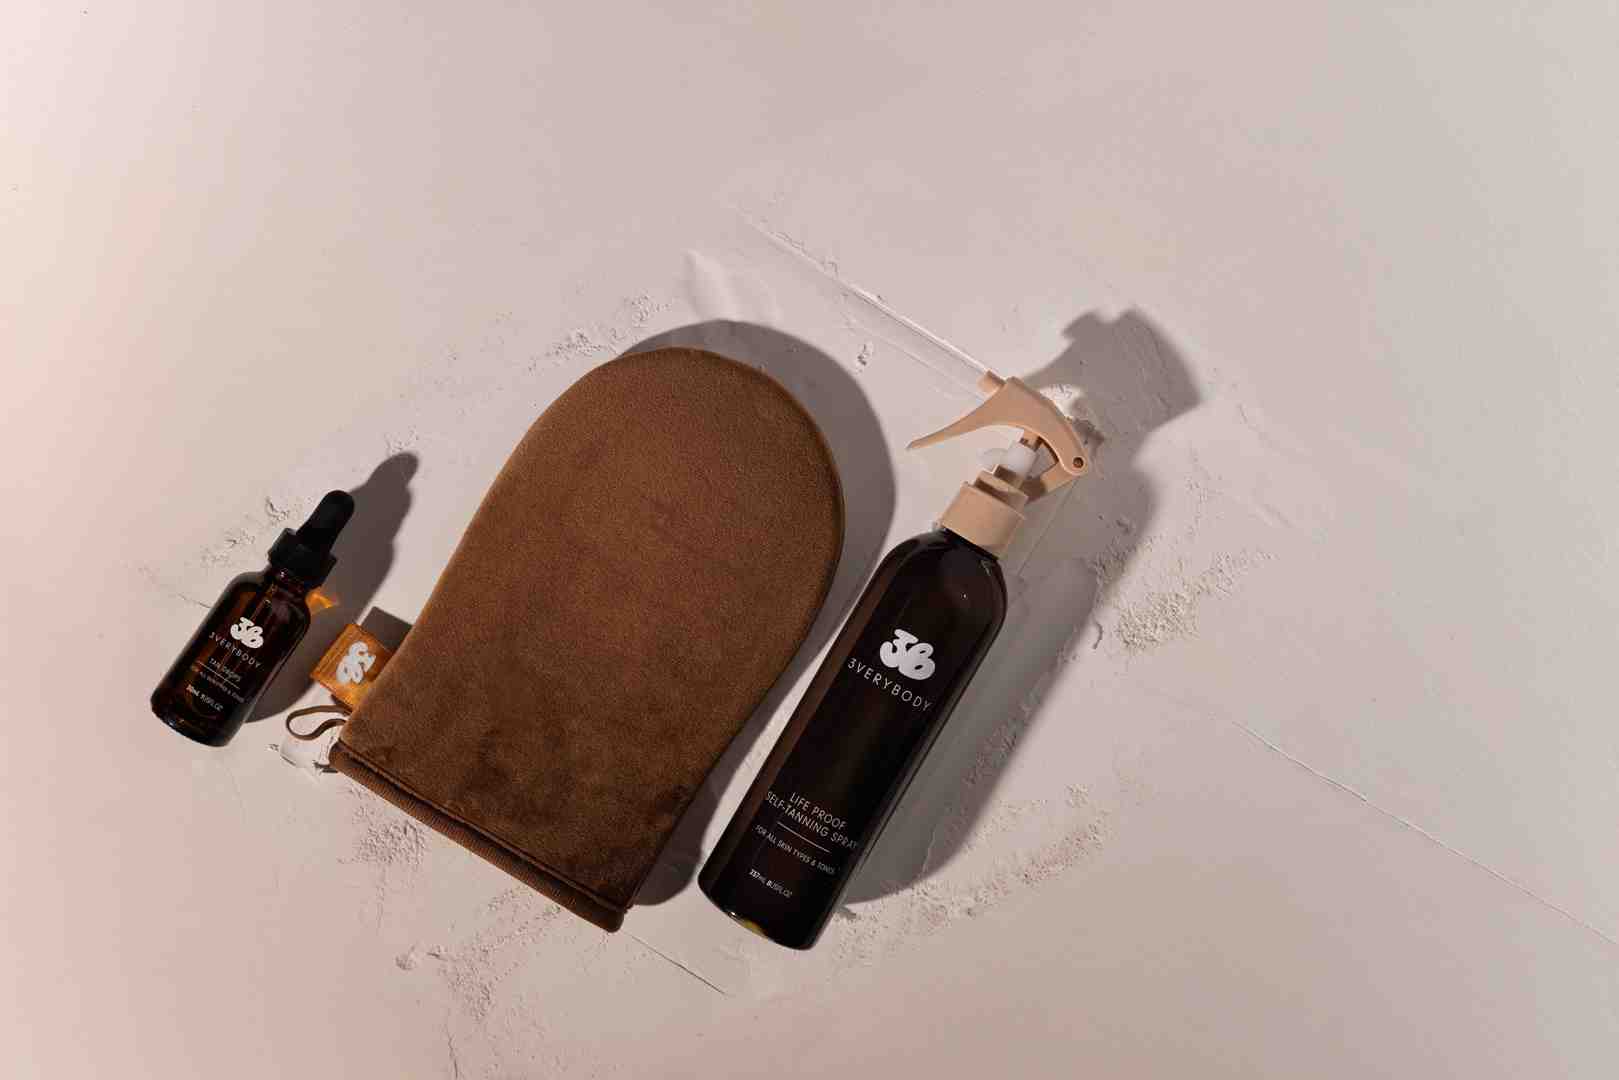
If you are ready to start your journey, we strongly recommend The Kit. It brings together Life Proof Tan, Tanning Drops, and The Mitt to give you everything you need to help create an even glow right in your own bathroom.