When you start looking for your first self-tanner, the sheer number of formats can feel overwhelming. You will find everything from water-light mists and customizable drops to traditional lotions and heavy creams. If you are trying to find the best self tanner for beginners, understanding how these formats behave on your skin is the best place to start.
Thicker formulas, like heavy creams or traditional lotions, can feel heavy on the skin. They often take much longer to dry and are more likely to transfer onto your clothes or sheets before you rinse them off. Because they are thick, they can also be difficult to distribute evenly, which increases the risk of a patchy finish.
This is why water-light formulas are the easiest choice for first-timers. A thinner, water-light layer blends cleaner, dries faster, and is designed to look natural on various skin tones, from very fair to deep.
Additionally, water-based formats are quick-drying, often feeling touch-dry in a few minutes, compared to the 15 to 60 minutes required for traditional lotions. For an easy first experience, we always recommend choosing a formula with a tinted guide color. This temporary tint acts as a visual map, showing you exactly where you have applied the product so you can avoid missed spots.
To help you visualize how these formats compare, we have broken down the key differences below:
| Feature | Tinted Tanning Water | Tanning Drops | Traditional Heavy Creams |
|---|---|---|---|
| Texture | Water-light, weightless | Concentrated liquid | Thick, heavy cream |
| Drying Time | Quick-drying (a few minutes) | Varies (depends on your moisturizer) | Slow (15 to 60 minutes) |
| Ease of Application | High (tinted guide color) | High (customizable build) | Moderate to Low (prone to clinging) |
| Transfer Risk | Low (transfer-resistant) | Low (once absorbed) | Moderate to High |
| Best For | Full-body even glow | Face and gradual customization | Deep winter hydration |
To learn more about finding a routine that fits your lifestyle, check out our everyday self tanner complete guide or read about the best at-home self tanners on Living in Yellow.
Tinted Tanning Water: The Ultimate Beginner Choice
Tinted tanning water is arguably the most forgiving format for anyone new to sunless tanning. Because it is water-light, it glides over the skin without dragging or sticking to dry patches. It offers a quick-drying, transfer-resistant application that makes the entire process feel straightforward.
The standout feature for beginners is the instant guide color. This subtle tint allows you to see exactly where the product is on your skin in real time, helping to reduce streaking and missed spots. Once applied, it is quick-drying, meaning you do not have to spend your evening waiting around.
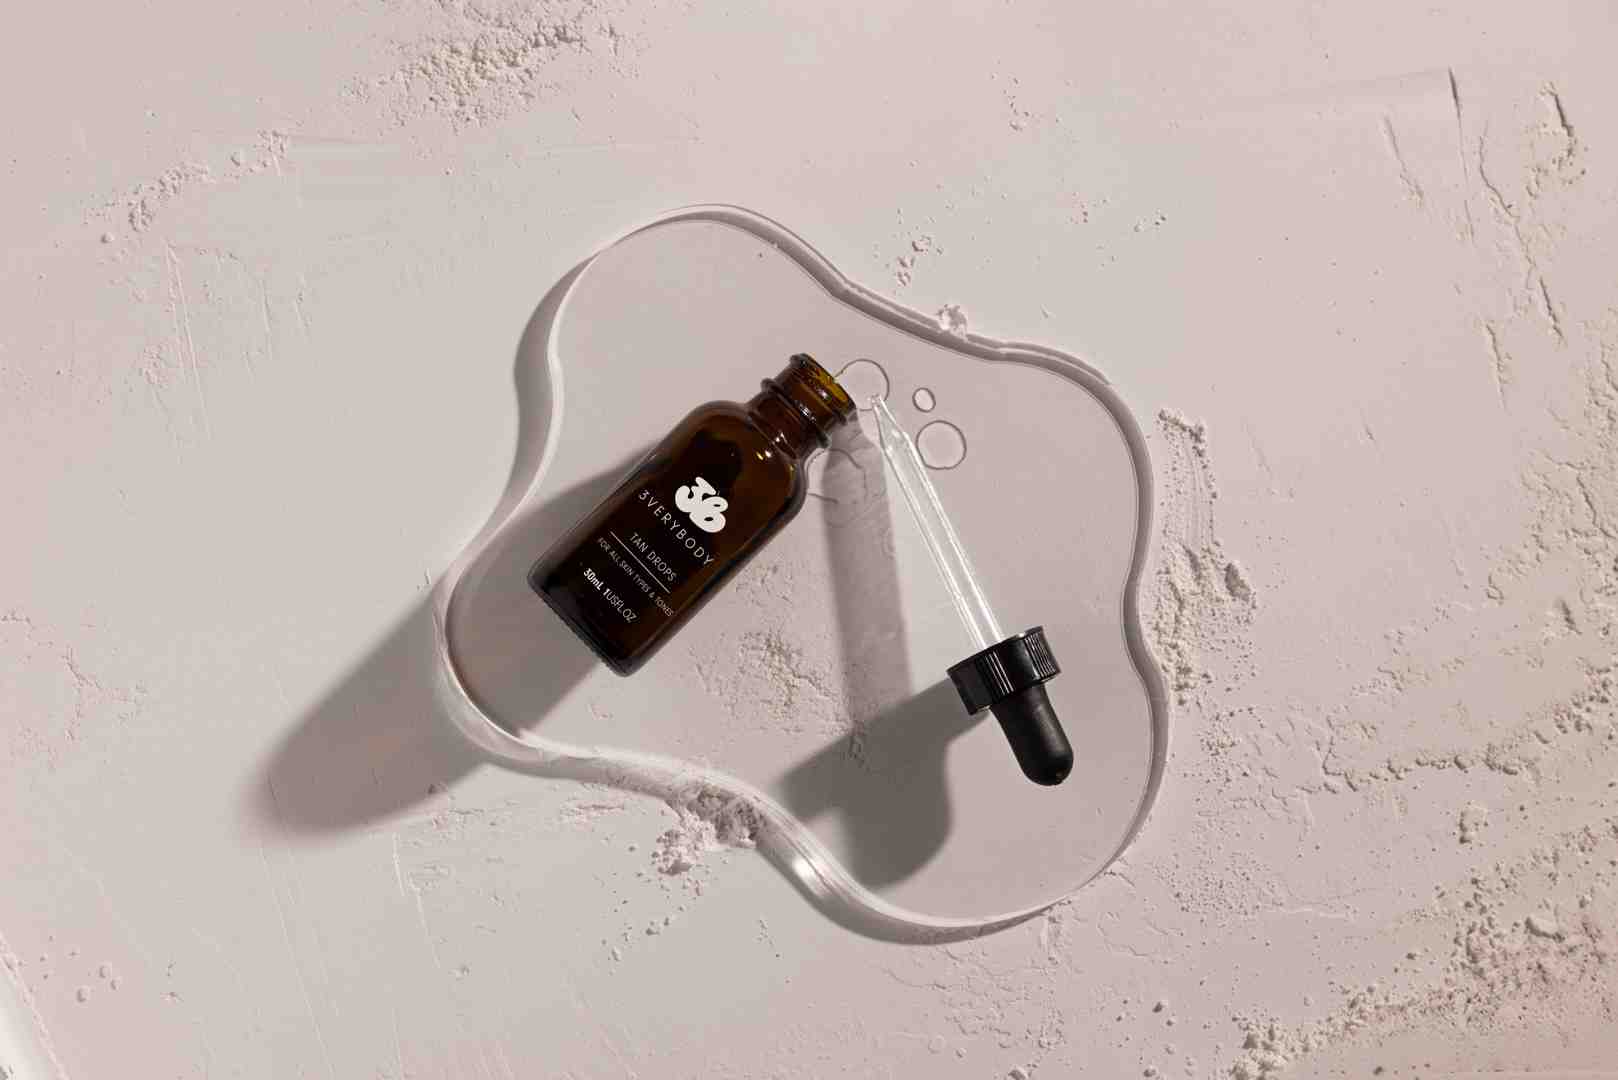
Customizable Tanning Drops: Best for Face and Gradual Build
If you are nervous about committing to a full-body tan all at once, tanning drops are an excellent alternative. Tanning drops are designed to be mixed directly with your favorite daily face or body moisturizer. This gives you complete control over the depth of your color—more drops equal a deeper tan, while fewer drops keep things subtle.
Because you control the concentration, drops are ideal for achieving a subtle, buildable face and body tan. They allow you to ease into self-tanning by gradually deepening your color over a few days, making it easier to avoid over-application on your first try.
Why Traditional Heavy Creams Can Be Tricky
Traditional heavy creams and lotions have been around for decades, but they are often the culprit behind first-time tanning mishaps. These thicker formulas are highly prone to clinging to dry areas like elbows, knees, and ankles. When a product builds up in these spots, it can leave behind dark, uneven patches.
Thicker creams also sit on top of the skin longer, taking up to an hour to dry. This extended drying time increases the likelihood that the product will rub off on your clothes, pet dogs, or furniture, leading to an uneven development process.
How Do You Choose the Right Shade for Your Skin Tone?
The fear of turning orange is the number one reason people hesitate to try self-tanner. However, modern sunless tanning is highly sophisticated. Orange tones are not an inevitable part of self-tanning; instead, they usually happen from overapplication, dry skin, poor prep, or choosing a shade that is too deep for your starting skin tone.
To find your suitable match, start by identifying your skin tone category:
- Fair: Pale skin that sunburns easily, often with cool or pink undertones.
- Light: Pale skin with neutral or warm undertones.
- Medium: Olive or naturally golden skin tones.
- Dark: Rich, deep complexions with warm or cool undertones.
If you have fair or light skin, we recommend starting with buildable or customizable formulas. This allows you to slowly build up to your desired warmth without overwhelming your natural complexion. For more detailed guidance, explore our best self tanner for pale skin guide and read Byrdie's tested review of the best self-tanners for fair skin of 2026.
Finding Your Perfect Match from Fair to Deep Skin
A great self-tan is designed to enhance your natural skin tone rather than overpower it. When selecting a shade, look for formulas that feature color-correcting undertones. For example, peach and green undertones help balance out pinkness in fair skin, while violet undertones complement olive and deeper skin tones to create a rich, warm bronze.
If you are unsure where you fit, you can read our guide on how to choose the right self tanner for your skin tone or check out our answers on what is the best self tanner for all skin tones.
Why Do Some Self-Tanners Turn Orange?
The "orange" look is almost always a result of user error rather than the product itself. When skin is dry, it absorbs the active tanning ingredient (DHA) much more aggressively. This concentrated absorption leads to dark, brassy patches.
Choosing a shade that is too dark for your starting skin tone can also cause an unnatural-looking result. If you have very fair skin, starting with an "ultra-dark" formula will overwhelm your natural undertones. By focusing on proper skin preparation and selecting a buildable shade depth, you can help avoid this common pitfall.
What is the Best Self-Tanner to Buy for Your First Time?
If you are ready to make your first purchase, we strongly recommend the 3VERYBODY Kit. First-time buyers often struggle because they buy a great tanner but forget the tools needed to apply it. The 3VERYBODY Kit is the best sales fit because it brings everything you need together into one simple, cohesive routine.
To help you understand your options, you can also read our best self tanner 2026 guide and check out Into The Gloss's classic guide to the best self-tanners for fair skin.
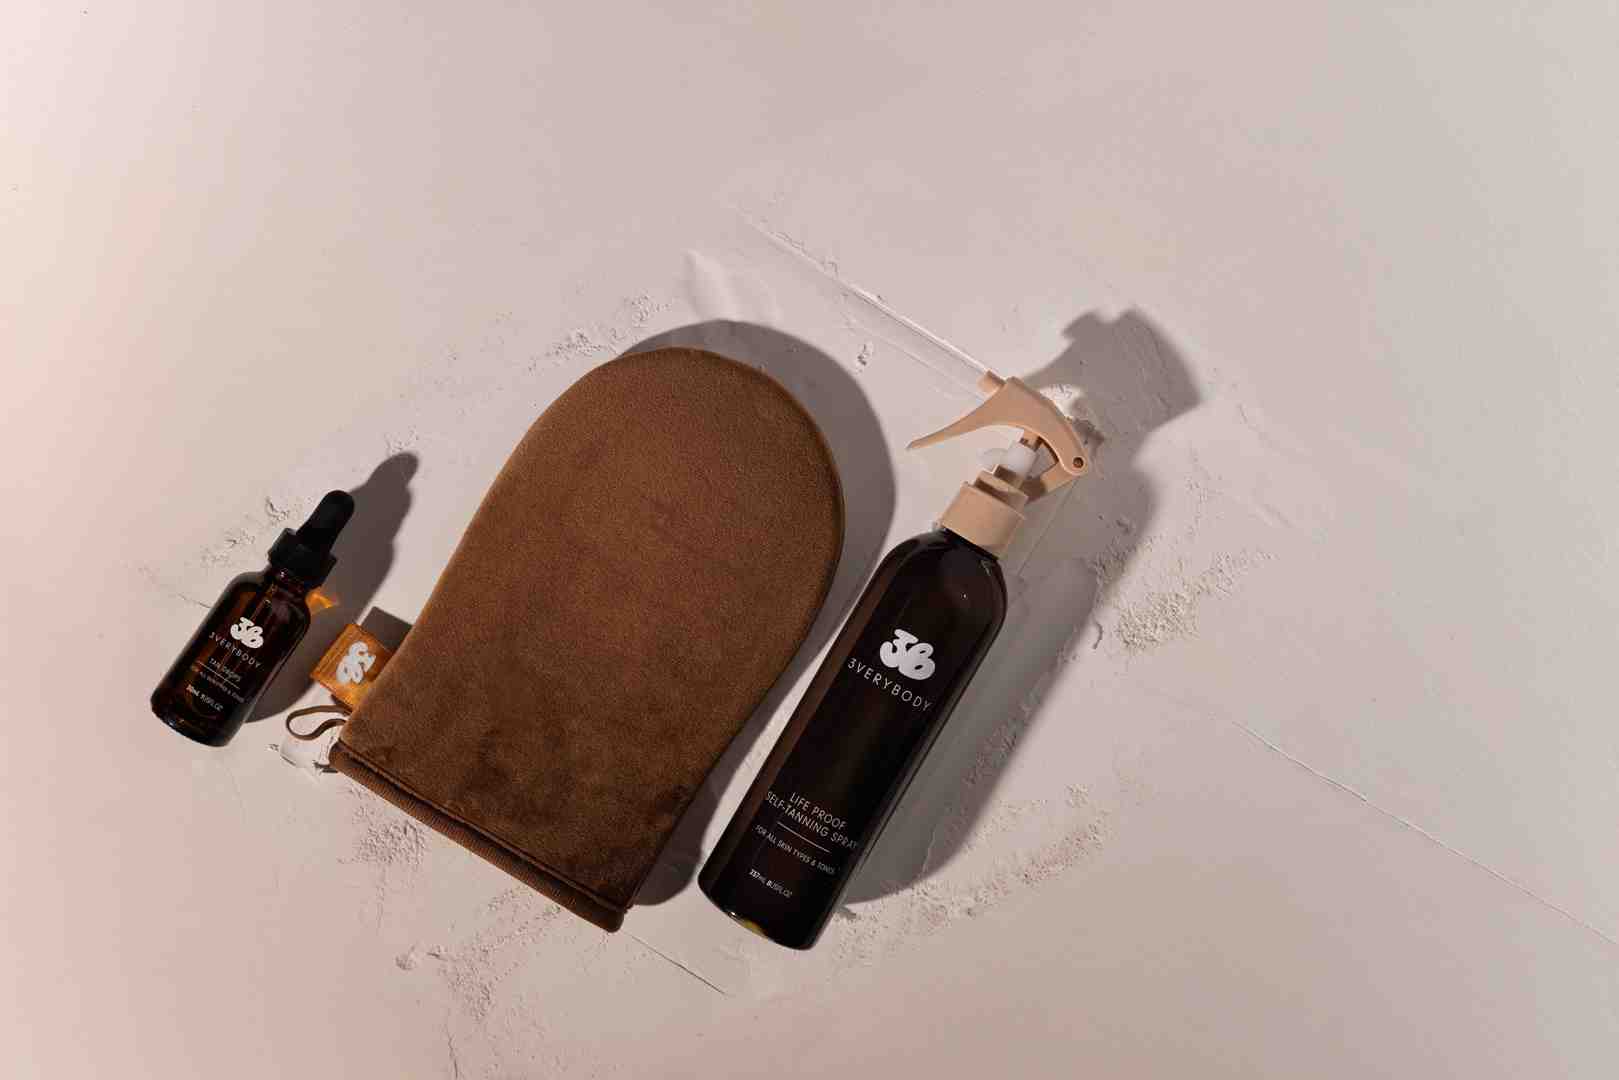
The 3VERYBODY Kit: The Complete Beginner Routine
Our kit is designed to deliver salon-quality results at home without the stress. It includes our signature Life Proof Tan (Tinted Tanning Water), our customizable Tanning Drops, and our double-sided Tanning Mitt. By bundling these together, you have the exact tools and formulas needed for a seamless, streak-free application from head to toe.
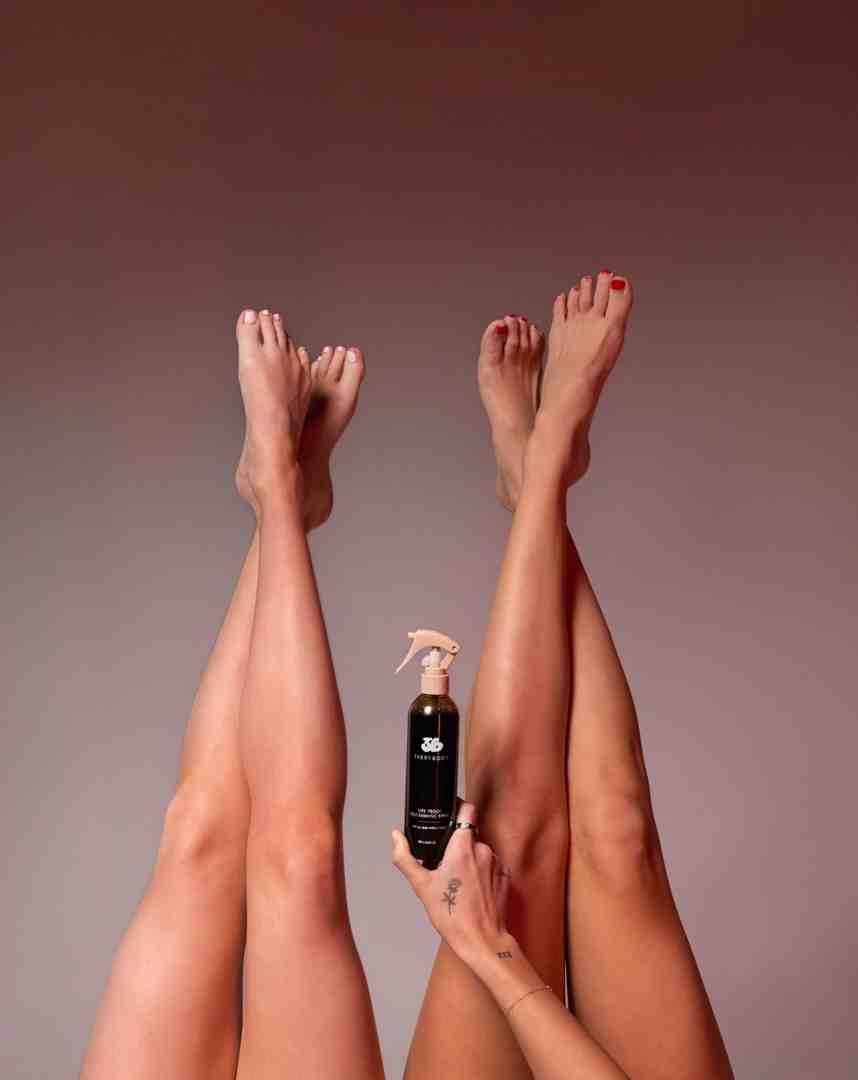
Life Proof Tan: The Ultimate Tinted Tanning Water
Our Life Proof Tan is an excellent option for beginners. It is a water-light, tinted tanning water that is sweat-resistant, transfer-resistant, quick-drying, and designed for a natural-looking, non-orange finish.
We enriched this formula with skin-loving ingredients like argan oil and cucumber oil to provide a hydrating feel, alongside caffeine and guarana extract to help support an even glow. It is vegan, cruelty-free, and free from parabens and sulfates, making it gentle on the skin.
3VERYBODY Tanning Drops: Customizable Glow for Face and Body
Our Tanning Drops are designed for target areas like your face, neck, and chest. They offer customizable color, a lightweight feel, and quick-drying properties. Infused with rosehip oil and cucumber extract, they are vegan and free from parabens, palm oil, and sulfates. Simply mix a few drops into your daily moisturizer to build a subtle, personalized bronze.
The 3VERYBODY Tanning Mitt: Your Secret to a Streak-Free Finish
You should never apply self-tanner with your bare hands. Our Tanning Mitt is double-sided, washable, and designed to give you even control during application. It acts as a barrier to prevent stained palms, while the soft velvet texture helps distribute our tinted tanning water smoothly across your skin.
How Do You Apply Self-Tanner for a Streak-Free Finish?

Applying self-tanner for the first time does not have to be scary. By following a simple, structured process, you can achieve a beautiful, even result on your very first try. The secret lies in your preparation and your application technique.
Before you begin, make sure you understand the basics of skin prep by reading our guide on the best practices for prepping your skin before applying self tanner.
Step 1: Prep Your Canvas (24 Hours Before)
Your preparation should start the day before you plan to tan. You should exfoliate and shave 24 hours before you apply your tanner, not on the same day. This gives your pores time to close and your skin time to calm down. For a deep dive into why this matters, read about the importance of exfoliation in self tanning routines.
On the day of your application, start with clean, dry skin. Skip all body lotions, oils, perfumes, and deodorants, as these can create a barrier that prevents the self-tanner from absorbing evenly.
Step 2: Apply with Long, Sweeping Strokes
Once your skin is prepped, slip on your tanning mitt. Spritz our Tinted Tanning Water directly onto the mitt, rather than spraying it directly onto your skin. This gives you much better control over the product.
Smooth the mitt over your skin using long, sweeping strokes, finishing with gentle circular motions to blend. Work in sections, starting with your legs and moving upward. Save your hands, feet, elbows, and knees for the very end. Use only the leftover product remaining on the mitt for these tricky areas, and blend them out using the clean, dry side of the mitt.
If you are wondering if you can skip this tool, read our advice on do I need to use a tanning mitt to apply self tanner.
Step 3: Let It Dry and Develop
Our water-light formula is quick-drying and will feel touch-dry in a few minutes. Once it feels dry, put on loose, dark clothing to avoid creating friction lines while the color develops.
Avoid getting wet, sweating, or working out during the development window. If you are prone to sweating in areas like your inner elbows or under your knees, you can dust a small amount of baby powder over those spots. This helps absorb moisture and reduce friction while your tan develops.
After your tan has developed, jump into the shower for a quick, lukewarm rinse without soap to wash away the temporary guide color. For more tips on avoiding streaks, check out our guide on how can I avoid streaks or patchiness when applying self tanner.
How Do You Maintain Your Tan and Make It Last?
Once you have achieved your perfect glow, you will want to keep it looking fresh. With proper care, a quality self-tan lasts about a week. The key to longevity is keeping your skin hydrated and avoiding activities that cause rapid skin shedding.
To learn more about what to expect, read our post on how long does self tanner last.
Daily Aftercare for an Even Fade
The most important step in maintaining your tan is daily moisturizing. When your skin is dry, dead skin cells shed unevenly, which can lead to a patchy appearance. By applying a lightweight moisturizer every day, you keep your skin hydrated, which helps support an even fade.
What to Avoid While Wearing Your Tan
To extend the life of your tan, you should make a few temporary adjustments to your routine:
- Avoid hot showers and long baths: Hot water strips the skin of moisture and accelerates fading.
- Skip harsh scrubs: Avoid physical exfoliants, rough washcloths, and body brushes.
- Pat dry, don't rub: When exiting the shower, gently pat your skin dry with a towel instead of rubbing vigorously.
- Avoid drying cleansers: Use gentle, hydrating body washes instead of harsh soaps.
For more maintenance tips, read our answers on how can I make my self tan last longer.
Frequently Asked Questions About First-Time Self-Tanning?
Can I wear clothes immediately after applying self-tanner?
You should wait a few minutes until the product is touch-dry before putting on clothes. Once dry, opt for loose, dark clothing (like an oversized t-shirt and loose sweatpants) while the tan develops. Tight clothing, bra straps, and waistbands can rub against the skin and create uneven friction lines.
Will self-tanner transfer onto my bedsheets?
Using a quick-drying, transfer-resistant formula like our Tinted Tanning Water minimizes the risk of transfer. However, because the product contains a temporary guide color, we recommend letting the product feel touch-dry before getting into bed. If you do notice any transfer on your sheets, it will easily wash out in a standard laundry cycle.
How do I fix a self-tanning mistake?
If you notice a dark spot or a streak after your first shower, do not panic. You can easily blend it out by gently exfoliating the area with a damp washcloth or a gentle scrub. Alternatively, apply a small amount of lightweight body oil to the spot, let it sit for ten minutes to soften the pigment, and then gently buff it away.
Ready to Get Your Perfect Glow?
Self-tanning for the first time does not have to feel like a science experiment. If you remember to prep your skin 24 hours in advance, choose a water-light tinted formula, and always use a tanning mitt, you are already set up for success.
If you want to skip the guesswork and get everything you need in one place, the 3VERYBODY Kit is your perfect starting point. It is designed to be simple, forgiving, and incredibly easy to use.
You've got this. Take your time, follow the steps, and enjoy your new, natural-looking bronze!
Best,
Emmy Bre
Founder, 3VERYBODY