Why Self Tan Fair Skin Needs Special Attention
Self tan fair skin requires the right products and techniques to avoid the dreaded orange look while achieving a natural, healthy glow. Here's what works best for pale complexions:
Quick Answer for Fair Skin Self-Tanning:
- Start with low DHA (1-3%) - prevents orange tones
- Choose violet or green undertones - neutralizes unwanted colors
- Use gradual formulas first - buildable, forgiving results
- Always patch test - fair skin shows mistakes easily
- Prep with exfoliation - ensures even application
If you have fair skin, you know the struggle. Too many self-tanners turn you into an orange disaster instead of giving you that sun-kissed glow you're after.
The fear is real - and valid. Fair skin shows everything. Streaks, patches, that telltale orange tint that screams "fake tan from a bottle."
But here's the truth: sun damage is permanent, while a bad self-tan is temporary. UV rays cause lasting cellular damage that leads to premature aging, dark spots, and skin cancer risk. Self-tanning gives you color without the consequences.
The good news? Self-tanners have come a long way. Modern formulas are designed to work with your skin tone, not against it. You can absolutely get a gorgeous, natural-looking tan on fair skin - you just need the right approach.
I'm Emmybre, founder of 3VERYBODY, and I've spent over a decade testing nearly every self tan fair skin formula on the market after watching my mom and grandma battle skin cancer. After developing countless orange disasters in my apartment kitchen, I finally cracked the code for non-orange, streak-free tanning that works on every skin tone - especially the fairest complexions.

Your Pre-Tan Checklist: How to Prep for a Perfect Finish

Here's the truth about self tan fair skin: your prep work determines everything. I learned this the hard way after countless orange disasters in my early tanning days. A gorgeous, natural-looking tan starts 24 hours before you even open the bottle.
Timing is everything when you have fair skin. Get all your other beauty treatments done first - waxing, manicures, hair appointments, and especially shaving. These can actually strip away your tan, leaving you with patchy, uneven color. Give yourself at least 24 hours between shaving and tanning. This lets your pores close up and prevents that dreaded "strawberry legs" look.
The most important step? Exfoliation 24 hours before you tan. This removes dead skin cells that would otherwise grab onto the tanner unevenly. Fair skin shows every single streak and patch, so this step is non-negotiable if you want professional-looking results.
Use an oil-free scrub for this. Oil leaves a residue that blocks the tanner from properly bonding to your skin. Look for scrubs with gentle acids like glycolic or salicylic acid - they'll give you that smooth canvas you need. Just make sure to rinse thoroughly afterward.
Now comes the strategic part: moisturizing dry spots. This sounds backwards, but trust me on this. Your knees, elbows, and ankles are drier than the rest of your body, which means they'll soak up way more tanner and turn darker than everywhere else.
Apply a thin layer of fragrance-free moisturizer to these areas right before tanning. This creates a barrier that dilutes the color slightly, helping everything blend seamlessly. Don't skip your knuckles, wrists, or any other naturally dry spots either.
This prep work might seem like a lot, but it's the difference between a natural-looking glow and obvious fake tan. Your fair skin will thank you for taking the time to do it right.
Best Practices for Prepping Your Skin Before Applying Self-Tanner
Should you exfoliate before using self-tanner
How to Choose the Right Self Tan for Fair Skin

When I first started developing self-tanners, I tested over 200 formulas on my fair-skinned friends. The difference between a gorgeous glow and an orange disaster? It all comes down to choosing the right product for your skin tone.
Self tan fair skin needs special consideration because pale complexions show everything - streaks, patches, and especially that dreaded orange tint. But here's what I learned after years of testing: the right formula can give you the most natural-looking results.
DHA percentage is your first clue. This sugar-based ingredient creates your tan by reacting with amino acids in your skin's top layer. For fair skin, you want to start with a low DHA percentage of 1-3%. Higher percentages might seem tempting for faster results, but they're more likely to turn orange on pale skin. Trust me on this one - I've seen too many beautiful fair-skinned people scared off by products that were simply too strong for their complexion.
The real game-changer? Look for green or violet undertones in your self-tanner. These color-correcting ingredients neutralize the yellow and red tones that create that artificial orange look. Some brands use sapphire color improvers (those blue-grey tones you might notice) specifically to counteract orange development. What self-tanner wont turn me orange
Gradual formulas are your best friend when you're starting out. These let you build color slowly over several days, giving you complete control. Express formulas develop in 1-3 hours, which sounds convenient, but they require perfect application technique. With fair skin, mistakes show easily, so gradual is more forgiving.
Don't overlook the supporting ingredients either. Hydrating ingredients like Aloe Vera keep your skin smooth during application and help your tan fade evenly. Well-moisturized skin holds color better and longer, preventing those patchy spots that can happen as your tan wears off.
How to Choose the Right Self-Tanner for Your Skin Tone
Tanner Types: Which Formula is for You?
The format you choose can make or break your tanning experience. Each type has its sweet spot for different skill levels and desired results.
Mousse formulas offer easy application with their lightweight, quick-drying texture. Most come with a guide color so you can see exactly where you've applied the product - perfect for beginners who worry about missing spots or over-applying.
Drops give you total control over your tan intensity. You mix a few drops with your regular moisturizer, serum, or oil. This customization is ideal for fair skin because you can start with just one drop and build up gradually until you find your perfect shade.
Lotions work best for a gradual build over time. They often double as moisturizers, making them incredibly convenient for daily use. The slow color development means you can stop whenever you reach your ideal shade.
Water formulas provide a lightweight feel that's barely noticeable on your skin. They're perfect for maintaining an existing tan or adding just a hint of color without any heaviness.
| Formula Type | Ease of Use | Color Control | Drying Time |
|---|---|---|---|
| Mousse | Easy | Medium | Fast |
| Drops | Medium | High | Varies |
| Lotion | Easy | High (gradual) | Medium |
| Water | Easy | Low | Fast |
Finding Your Perfect Shade
Here's where most people with fair skin go wrong: they either choose too dark or get scared and go too light. Always start with "Light" or "Medium" shades - these are specifically formulated to complement fair complexions without overwhelming them.
Patch test first - I cannot stress this enough. Apply a small amount to your inner arm 24 hours before your full application. This shows you exactly how the color will develop on your unique skin tone and catches any potential reactions before they become a problem.
Buildable color is your friend. It's infinitely easier to add more color than to scrub off too much. Start light, see how it develops, then add more if needed. This approach has saved countless clients from orange disasters.
How do I choose the right shade of self-tanner
Our Top Picks for a Natural, Non-Orange Glow

Finding the right self tan fair skin products shouldn't feel like a chemistry experiment. After testing countless formulas and dealing with my own share of orange disasters, I created 3VERYBODY with one mission: natural-looking results that actually work for every skin tone.
Here's what we've learned works best for fair complexions - and why these three products have become our customers' go-to choices for streak-free, non-orange tanning.
Best Gradual Tanner for a Subtle Build
When you're new to self-tanning or want that "I just got back from vacation" glow without anyone knowing your secret, our 3VERYBODY Life-Proof Tan Gradual is your perfect starting point.
This moisturizing formula builds color slowly with daily use, which means you're in complete control of your shade. No shocking color changes overnight - just a gentle deepening that looks completely natural on fair skin. The best part? It's practically foolproof. The gradual approach is incredibly forgiving, so even if you miss a spot or apply unevenly, it blends seamlessly as you continue using it.
I love that this doubles as your daily body moisturizer. You're already doing that step anyway, so why not get a gorgeous glow while you're at it?
Best Tanning Drops for a Custom Self Tan on Fair Skin
For the control lovers out there (and honestly, who doesn't want complete control over their tan?), our 3VERYBODY Tanning Drops (Light) are absolute game-changers.
These drops mix with whatever moisturizer you already love, so you're not changing your entire routine. Start with just 2-3 drops for fair skin and increase gradually until you hit your sweet spot. Some of our customers use 2 drops for a subtle hint of color, while others work up to 6-8 drops for a deeper glow.
The color-correcting benefits are what really set these apart. We've formulated them specifically to neutralize any orange or yellow undertones that can plague fair skin. Instead, you get that perfect sun-kissed look that people will swear came from a weekend at the beach.
What are self-tanning drops and how do you use themA customizable glow
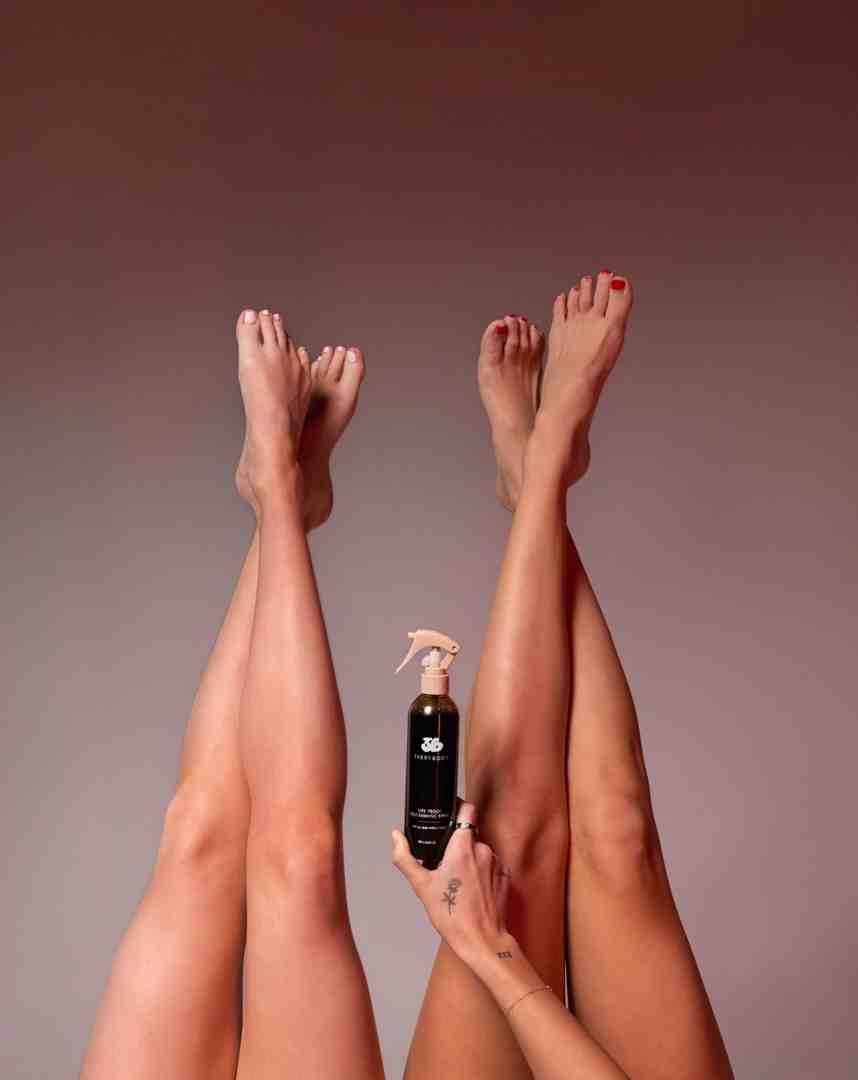
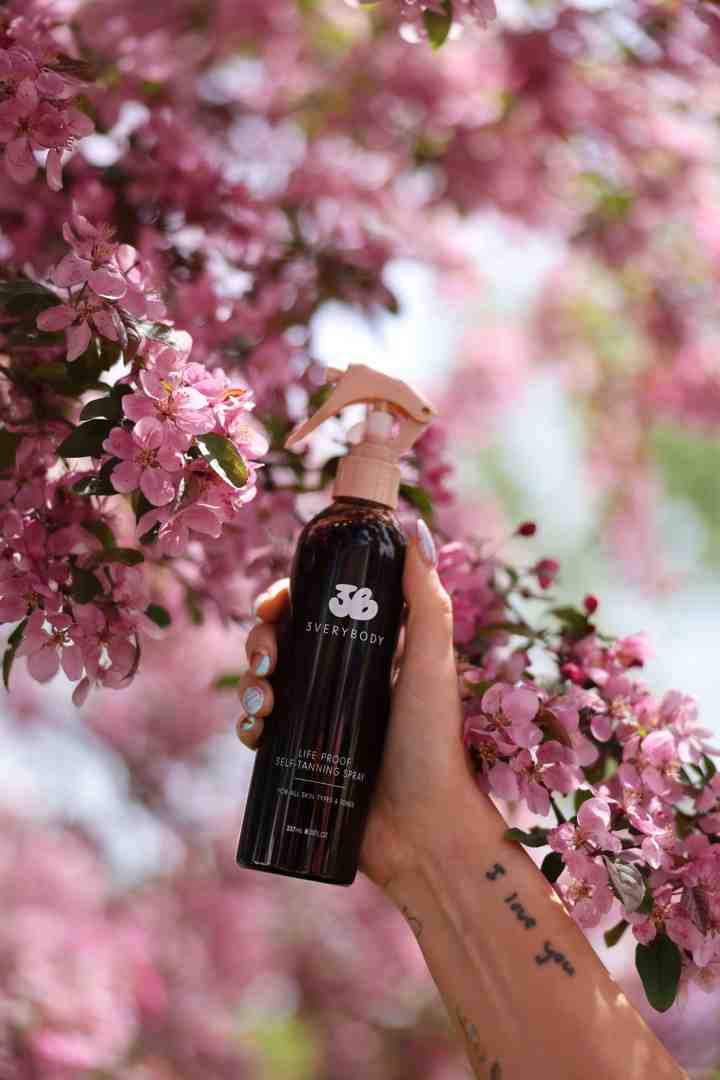
The Ultimate Sweat-Proof Self Tan for Fair Skin
The 3VERYBODY Life-Proof Tan is my baby - the formula I spent years perfecting after watching too many friends (and myself) struggle with sticky, smelly, transfer-prone tanners that looked anything but natural.
This isn't just another self-tanner. It's designed specifically for real life. You know, the kind where you sweat, sleep in white sheets, wear light-colored clothes, and don't want to smell like a biscuit factory.
What makes it perfect for self tan fair skin? The formula is non-sticky and transfer-proof once dry, so you can actually live your life without worrying about staining everything you touch. No more sleeping on dark towels or avoiding your favorite white dress.
But here's what I'm most proud of: it fades naturally and evenly. No weird patches, no orange undertones as it wears off - just a gradual return to your natural skin tone that looks completely realistic. Because the goal isn't just getting the tan - it's keeping it looking good until it's gone.
Your Step-by-Step Application Guide
This is where self tan fair skin dreams either come true or turn into orange nightmares. After years of perfecting application techniques (and fixing countless disasters), I can promise you this: the right method makes all the difference between "did you just get back from vacation?" and "did you fall into a carrot patch?"
Start with your tanning mitt - this isn't optional. Your bare hands will absorb product like a sponge, leaving you with telltale orange palms that scream fake tan. Here's a pro tip I learned the hard way: dampen your mitt slightly before applying. It works like a damp beauty sponge, preventing the mitt from soaking up all your expensive self-tanner while helping it glide on smoothly.
Work in circular motions across small sections of your body. Think of it like buffing out scratches on a car - those gentle, overlapping circles blend everything seamlessly. Don't try to cover your entire leg in one go. Instead, start at your ankles and work upward, giving each section the attention it deserves before moving on.
The hands and feet trick that changed my tanning game forever: after you've finished your arms and legs, use only the leftover product on your mitt for these tricky areas. Then immediately follow with a thin layer of moisturizer all over your hands and feet, paying extra attention to knuckles, between your toes, and inner wrists. This dilutes any excess tanner and creates that natural gradient you see with real sun exposure.
For hard-to-reach spots like your back, enlist help if you can. Flying solo? A back applicator works, though they can be clunky. My favorite solution is using a spray bottle filled with liquid self-tanner for those awkward areas - it gives you that airbrushed finish without the gymnastics.
Tanning Your Face Without Fear
Facial tanning used to terrify me. One bad application and everyone can see your mistake for days. The secret is using face-specific products - body formulas are often too heavy and can clog pores on delicate facial skin.
Our Tanning Drops are perfect for this. Mix about 5 drops with your nightly moisturizer (more if you want deeper color), then apply evenly across your face. Blend carefully into your hairline and down your neck - nothing gives away a fake tan faster than a face that doesn't match your body.
The beauty of drops is the control. Start with fewer drops and build up gradually until you find your perfect shade. Your face develops color differently than your body, so patience pays off here.
Learn how to apply self-tanning drops
Common Mistakes and How to Fix Them
Even after perfecting my formula, mistakes still happen. The good news? Most self tan fair skin mishaps are totally fixable.
Streaks are the most common panic - I've been there. If you notice uneven areas, try showering with soap a few extra times. For stubborn spots, mix baking soda with lemon juice and gently work it in with an exfoliating mitt. It's like an eraser for bad tans.
Orange palms happen to the best of us. Wash your hands immediately after application, but if you forget, that baking soda and lemon mixture works here too. A pumice stone can help buff away the worst of it.
Dark patches on joints usually mean those areas were too dry during application. Next time, barrier moisturizer on knees, elbows, and ankles. If it's already happened, gently buff with a damp towel or makeup wipe to lighten the area.
Staining your sheets is preventable - let your tan dry completely before bed and consider wearing loose, long-sleeved pajamas. A spare set of dark sheets for tanning nights is a game-changer.
The most important thing to remember? A slightly imperfect tan still looks infinitely better than sun damage. Don't stress about minor imperfections - most people won't notice what seems glaring to you.
Tan Maintenance, Safety, and FAQs
Once you've nailed that perfect self tan fair skin glow, the key is keeping it looking fresh and natural for as long as possible. Think of your tan like a beautiful piece of art - it needs a little TLC to stay gorgeous.
Daily moisturizing is your tan's best friend. I can't stress this enough! Self-tanners work on the top layer of your skin, and when that layer gets dry and flaky, your tan goes with it. A rich, hydrating body lotion applied every day after showering will keep your skin supple and help your color fade evenly instead of in patchy chunks.
When you shower, be gentle with your skin. Pat yourself dry instead of rubbing vigorously - this simple switch helps preserve that top layer where your tan lives. Skip the harsh scrubs and loofahs while your tan is active, and opt for mild, sulfate-free body washes that won't strip your color.
So how long can you expect your glow to last? Most self-tans stick around for 5-10 days, with fair skin typically seeing consistent color for about 5-7 days. This timeline depends on your specific formula, how well you maintain it, and how quickly your skin naturally sheds cells.
The beauty of modern self-tanners is that they're designed to fade gracefully. As your skin naturally exfoliates, your tan gradually lightens - just like a real tan would. If you notice certain spots fading faster (hello, knees and elbows!), a light touch-up with your gradual tanning lotion can even things out perfectly.
How to Achieve a Natural-Looking Tan Without the Sun
Is Self-Tanner Safe?
This is probably the most important question we get, and I totally understand the concern. Here's the straight truth: self-tanners are infinitely safer than UV tanning from the sun or tanning beds.
DHA (Dihydroxyacetone) is the active ingredient that creates your tan by reacting with amino acids in your skin's top layer. The FDA considers DHA safe for external use, and recent studies from 2024 confirm that DHA is unlikely to be harmful in the concentrations found in self-tanning products.
The only real precaution? Avoid inhaling spray formulas. If you're using an aerosol or mist product, spray it onto your tanning mitt first, then apply to your skin. This eliminates any risk of breathing in the formula while still giving you that perfect application.
If you have sensitive skin, always do a patch test 24 hours before your first full application. Apply a small amount to your inner arm and watch for any irritation. Your comfort and safety come first - always.
The FDA considers DHA safe for external useRecent studies confirm DHA is unlikely to be harmful
How long does self-tanner last and how does it fade?
Your self-tan will typically last 5-7 days on average, gradually fading as your skin naturally exfoliates. The key to a beautiful, even fade is consistent moisturizing - when your skin stays hydrated, it sheds more smoothly, taking your tan with it in the most natural way possible.
Your tan fades evenly with daily moisturizing because hydrated skin doesn't flake or peel in patches. Instead, the color gradually lightens all over, mimicking how a real sun tan would naturally fade. This is why skipping the moisturizer is the fastest way to end up with a patchy, uneven fade that screams "fake tan."
The bottom line? Treat your tanned skin with kindness, keep it moisturized, and avoid harsh scrubs post-tan. Your glow will fade beautifully, leaving you ready for your next perfect application.
Conclusion: Your Best Glow is a Safe Glow
You now have everything you need to achieve a gorgeous, self tan fair skin glow without the guesswork or fear. From proper prep work to choosing the right DHA percentage, from application techniques to maintenance tips - these aren't just theoretical steps. They're the exact methods I've used to help thousands of people with fair skin get the natural-looking tan they've always wanted.
The change isn't just about the color. It's about confidence in your skin. When you can achieve a beautiful glow without worrying about sun damage, orange undertones, or streaky disasters, everything changes. You stop avoiding sleeveless tops. You feel radiant in photos. You accept that healthy, bronzed look you've always admired on others.
Here's what we've covered that makes all the difference: starting with low DHA formulas prevents orange disasters, proper exfoliation and moisturizing creates that smooth canvas, using the right application tools eliminates streaks, and choosing quality products means you're not fighting against cheap formulas that work against fair skin.
Tanning without the sun damage isn't just smart - it's essential. While a bad self-tan fades in a week, UV damage is permanent. You're making the choice to protect your skin's future while getting the glow you want today.
I created 3VERYBODY because I was tired of self-tanners that didn't work for real people with real skin concerns. After watching my mom battle skin cancer and spending years perfecting formulas in my kitchen, I knew there had to be a better way. You deserve a tan that works with your life, not against it - one that's non-orange, streak-free, and fades beautifully.
Your fair skin isn't a limitation. It's just skin that needs the right approach. With these techniques and the right products, you'll wonder why you ever hesitated to try self-tanning.
Ready to get that flawless, natural glow you've been dreaming of?