When Your Glow Goes Wrong: The Dreaded Orange Palms Problem
How to get fake tan off hands starts with understanding that orange, streaky palms are one of the most common self-tanning mistakes. The good news? You can fix it fast with the right approach.
Here are the quickest ways to remove fake tan from your hands:
- Fresh tan (under 4 hours): Wash immediately with warm, soapy water
- Set tan (4+ hours): Use baking soda paste or gentle exfoliation
- Stubborn patches: Apply lemon juice with a cotton pad, wait 5 minutes, rinse
- Prevention: Always use a tanning mitt and wipe palms immediately after application
Creating a gorgeous golden glow only to realize your hands look patchy or stained is every self-tanner's nightmare. Nothing screams "fake tan amateur" quite like orange palms and darkened fingernails. Whether you touched a wall during application or forgot to wash your hands right away, those telltale signs can make an otherwise flawless tan look obvious.
The key to preventing uneven tanning on your hands is acting swiftly. After applying sunless tan, you have a small window to fix mistakes before the DHA (the ingredient that creates your tan) fully develops into your skin.
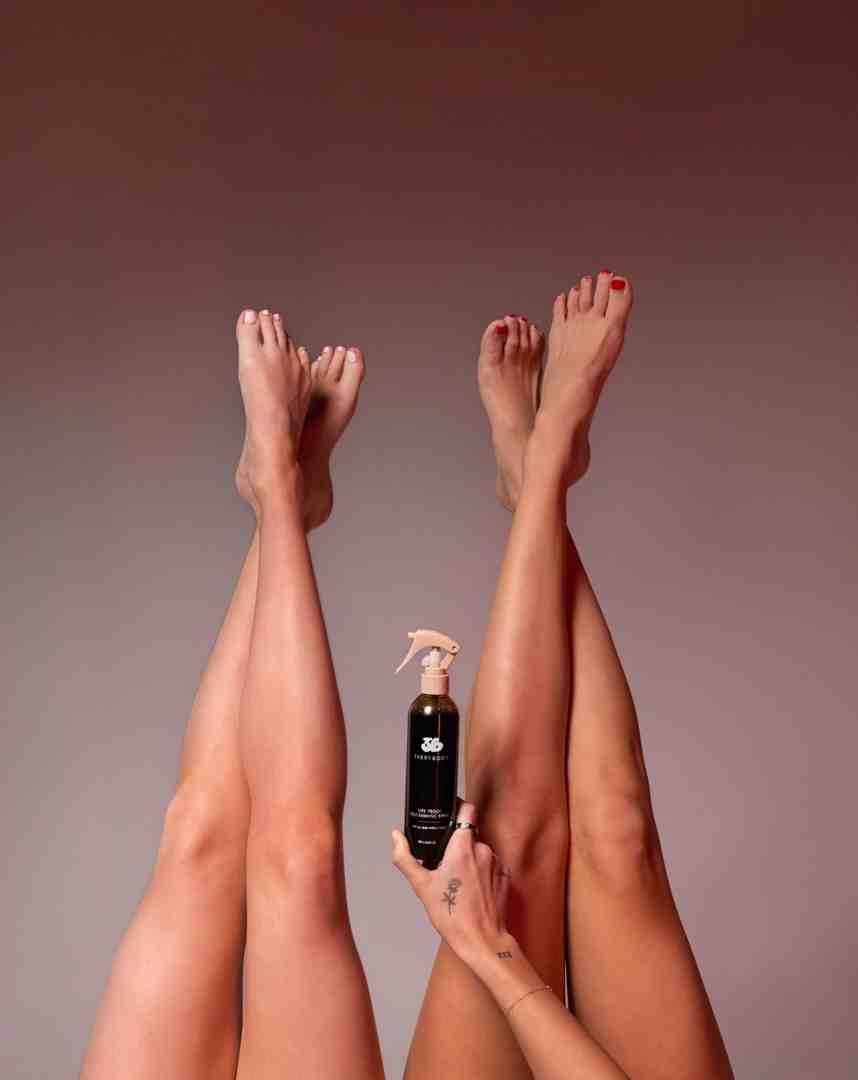
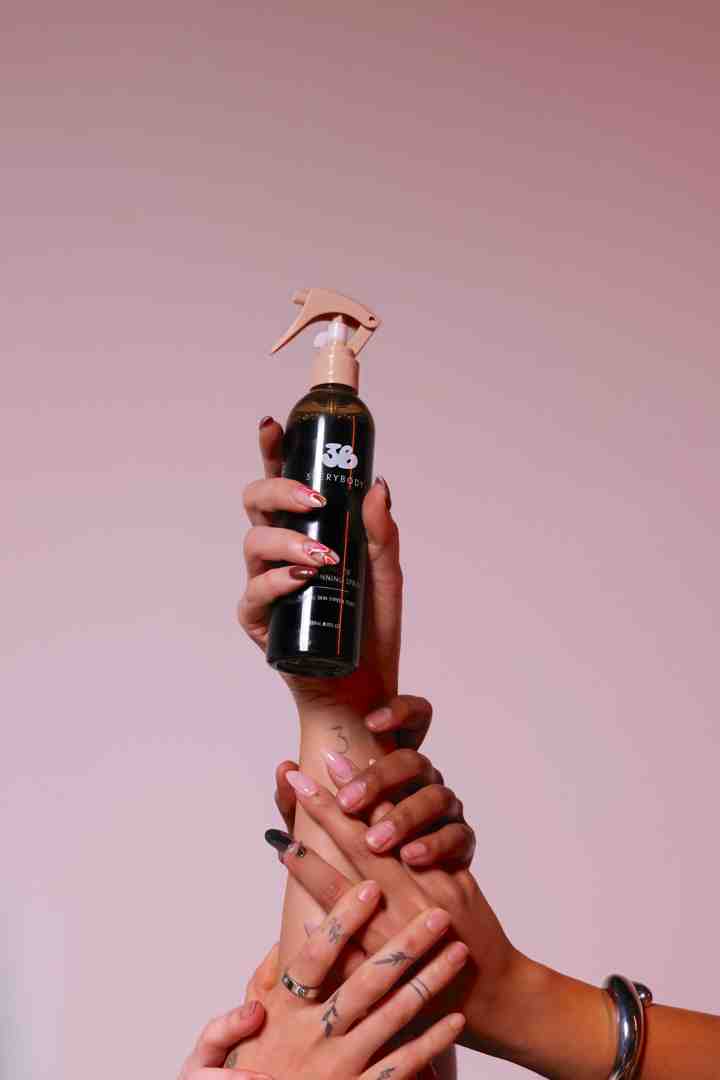
I'm Emmybre, founder of 3VERYBODY, and after a decade of experimenting with nearly every self-tanner on the market, I've learned how to get fake tan off hands through plenty of trial and error. My mission became creating streak-free, non-orange formulas that work on every skin tone - because everyone deserves a flawless glow without the stress of orange palms.
 - Wash with warm soapy water immediately\", \"SET TAN (4+ hours) - Use baking soda paste or gentle exfoliation\", \"STUBBORN PATCHES - Apply lemon juice, wait 5 minutes, rinse\". Background in brown #B88F6C with cream text #FFF9F1, clean icons of hands, soap, and lemon - how to get fake tan off hands infographic")
First, Let's Prevent Tan Hands from Happening
The best way to learn how to get fake tan off hands is to never need it in the first place. Trust me, I've been there – standing in my bathroom at midnight, frantically scrubbing orange palms before an important meeting. After years of trial and error (and way too many orange-palm disasters), I've learned that prevention beats damage control every single time.
The truth is, most hand-tanning mishaps happen because we rush through application or skip a few key steps. But here's the good news: avoiding tan hands is actually easier than fixing them. Let me share the three game-changing techniques that transformed my tanning routine from stressful to foolproof.

Use an Application Mitt
Here's your golden rule: never apply self-tanner with bare hands. An application mitt isn't just a nice-to-have – it's your insurance policy against orange palms.
Your palms are basically DHA magnets. They're naturally dry and covered in dead skin cells, which means they grab onto self-tanner like crazy. The result? That telltale orange stain that screams "fake tan fail."
A mitt creates a protective barrier between the tanner and your skin. When you're ready to tan the backs of your hands, don't add fresh product to your mitt. Instead, use whatever's left over from tanning your body. This leftover product gives you just enough coverage for a natural-looking glow without going overboard.
Pro tip: Always tan your hands last. This way, you're working with minimal product and can focus on blending everything seamlessly.
Your mitt is only as good as you keep it. A dirty mitt can cause streaks and uneven color, so make sure you're caring for it properly. Check out our guide on How to Clean Your Tanning Mitt to keep it in perfect condition.
Moisturize Dry Spots First
Dry skin and self-tanner don't play nice together. DHA loves to cling to parched areas, creating those dark, patchy spots that give away your tan instantly.
Before you even think about opening your self-tanner, grab a thick moisturizer or barrier cream. Focus on your knuckles, cuticles, and wrists – these spots are naturally drier and will grab color fast.
Beauty expert Harriet Morrall swears by this trick: apply moisturizer to your palms and nail beds before tanning. It creates a protective shield that blocks DHA from absorbing where you don't want it.
Think of moisturizer as your safety net. It evens out your skin's porosity, so the tanner develops uniformly instead of creating those dreaded dark patches. Pay special attention to the spaces between your fingers and around your nail beds – these tiny areas can make or break your final look.
Want to nail your prep routine? Our complete guide covers everything: Best Practices for Prepping Your Skin Before Applying Self-Tanner.
Master Your Application Technique
Getting your hands right takes a bit of finesse, but once you master the technique, you'll wonder why you ever struggled.
Start with the "claw hand" method. Curl your fingers into a claw shape when applying product to the backs of your hands. This stretches your skin and separates your fingers, helping you reach every spot without over-saturating areas that tend to grab too much color.
For precision work around your fingers and wrists, try using a makeup brush for blending. It gives you control over exactly where the product goes and helps you feather the edges for a seamless finish.
Here's something that changed everything for me: tan your hands last, always. By this point, your mitt has just the right amount of residual product – not too much, not too little. This minimal approach prevents that heavy, obvious look that screams artificial.
The goal is a finish so natural that people assume you just got back from vacation. With the right technique, that's exactly what you'll get.
Avoid the most common pitfalls with our comprehensive guide: Tips for Avoiding Common Self-Tanning Mistakes.
Act Fast: What to Do Immediately After Tanning
Sometimes, despite our best efforts, a little self-tanner sneaks onto our palms or cuticles. Don't panic! Acting swiftly in those first few minutes after application is your secret weapon for damage control. The DHA hasn't had time to fully develop yet, which means you can still fix those little mistakes before they turn into full-blown orange palms.
Think of this as your golden window of opportunity. Once DHA starts developing (usually within the first hour), removal becomes much trickier. But catch it early? You're golden.
Wipe, Don't Wash
Here's where many people go wrong: they see excess product and immediately rush to the sink. Resist that urge! As Nadia Suliaman from Forbici London warns, washing your hands can create smudges and strip the tan off completely. You'll end up with patchy, uneven hands that look worse than orange ones.
Instead, grab a damp cloth or baby wipe and gently wipe your palms, the inside of your fingers, and your wrists. This removes excess product without disturbing the beautiful tan you want to keep on the backs of your hands.
The key word here is gentle. Think of it as blotting away mistakes, not scrubbing them off. This technique preserves your gorgeous glow where you want it while cleaning up the areas you don't.
Focus on the Details
Those tiny spaces between your fingers, around your nails, and along your cuticles are where fake tan loves to hide and create those telltale orange signs. These spots need special attention because they're notorious for grabbing extra color.
Here's my go-to trick: grab a Q-tip and dampen it slightly. Gently roll it along your cuticles, carefully clean under your fingernails, and work it between your fingers. This precision approach lets you remove excess product from all those little crevices without messing up the tan on the rest of your hand.
I learned this the hard way after too many orange-cuticle disasters in my early tanning days. Now it's become second nature, and it makes all the difference between a professional-looking tan and an obvious fake one.
For more detailed guidance on avoiding those frustrating streaks and patches, check out our comprehensive guide: How to Avoid Streaks or Patchiness When Applying Self-Tanner. A little extra attention to these details now saves you from having to figure out how to get fake tan off hands later.
How to Get Fake Tan Off Hands Once It's Developed
So the tan has set in, and you're staring at hands that look more like you've been eating Cheetos than lounging on a beach. Don't panic! While catching mistakes early is ideal, there are still plenty of ways to tackle how to get fake tan off hands even after the DHA has fully developed.
Once your tan has deepened and settled (usually after 4-6 hours), you'll need a different game plan than that quick wipe-down we talked about earlier. The good news? With the right approach, you can still get back to natural-looking hands.

The Gentle Exfoliation Method
Here's the science bit: self-tanner works by bonding with the dead skin cells on your skin's surface. So to remove unwanted color, you need to gently buff away those pigmented cells. Think of it as giving your hands a fresh start.
Physical exfoliation is your best friend here. A body scrub, exfoliating mitt, or even a washcloth can work wonders when used correctly. I'm particularly fond of Korean skincare peeling mitts - they're affordable, effective, and you can find them easily online.
Gently massage your chosen exfoliant over the stained areas for a few minutes. Focus on your palms, knuckles, and between your fingers where the color tends to be most intense. The key word here is gently. As Nadia Suliaman from Forbici London puts it, "don't start scrubbing away like Lady Macbeth."
Over-scrubbing will only irritate your skin and potentially make the patchiness worse. Trust me, I've seen people turn their orange palms into angry red ones by being too aggressive. The goal is gradual improvement, not instant perfection.
For more insight into why exfoliation is so crucial for your tanning routine, check out our guide: The Importance of Exfoliation in Self-Tanning Routines.
DIY Remedies: How to get fake tan off hands with household items
Sometimes the best solutions are hiding in your kitchen cupboard. When you need to know how to get fake tan off hands using what you already have at home, these tried-and-true remedies can be surprisingly effective.
Baking soda and lemon juice make a powerful team. The acid in lemon juice helps break down the tan while baking soda provides gentle abrasion. Mix two tablespoons of baking soda with enough lemon juice to create a thick paste. Apply it to your hands, rub gently, let it sit for a few minutes, then rinse with warm water.
Oils like coconut, olive, or baby oil work by breaking down the DHA in your self-tanner. Massage a generous amount onto your hands and let it sit for 5-10 minutes. The oil penetrates and loosens the tan, making it easier to wipe away with a warm, damp washcloth.
For really stubborn spots, beauty expert Isabel Alyssa suggests trying a pumice stone with antibacterial soap. Run your hands under warm water, apply the soap, and gently scrub problem areas with the pumice stone. Remember - gentle pressure is key.
White vinegar on a cotton pad can also help break down tan thanks to its acetic acid content. For tiny spots around your nails, try a dab of whitening toothpaste - the mild abrasives and peroxide can lift stubborn color when rubbed in circular motions.
Even baby wipes can be useful for buffing away residual color after using stronger removal methods. While they won't tackle developed tan on their own, they're perfect for gentle finishing touches.
Always moisturize thoroughly after using any of these methods - some can be quite drying to your skin.
When to Use a Dedicated Tan Remover
While DIY methods are great for quick fixes, sometimes a stubborn, developed tan calls for the big guns. That's where dedicated tan removers really shine, and honestly, they can save you a lot of scrubbing and potential skin irritation.
Here's the thing about timing: if your tan has already developed and deepened, you'll typically need to wait 24 to 48 hours before using a specialized remover. This waiting period allows the tan to fully settle, making the removal process much more effective.
Many professional tan removers, including our own 3VERYBODY formula, contain glycolic acid and other gentle exfoliating acids. These alpha hydroxy acids work by dissolving the bonds that hold dead skin cells together, allowing those pigmented cells to be easily wiped away. Jules Von Hep from Isle of Paradise notes that their "Over It" remover "works best on a three-day-old tan" for exactly this reason.
Using a dedicated remover is straightforward: apply it to dry skin, let it sit for the recommended time (usually 5-10 minutes), then buff it off with a damp cloth or exfoliating mitt in the shower. These products are specifically designed to be both gentle and powerful - making how to get fake tan off hands much less of a chore.
If you're curious about how long you can expect your tan to stick around naturally, our guide breaks it down: How Long Does Self-Tanner Last?.
Frequently Asked Questions about Tan Hand Removal
We get tons of questions about how to get fake tan off hands, and honestly, I've made every mistake in the book myself! Here are the most common concerns we hear from our 3VERYBODY community, along with the real solutions that actually work.
How long do I have to wait to remove a bad fake tan?
The timing makes all the difference, and it depends entirely on when you catch the problem.
If you spot a fresh mistake within the first hour or two, you're in luck! Just grab some warm, soapy water and wash immediately. The DHA hasn't had time to fully react with your skin cells yet, so a good scrub can often save the day. I learned this the hard way after touching a doorframe mid-application - caught it within 30 minutes and it washed right off.
But if your tan has already developed and darkened (usually after 4+ hours), soap and water won't cut it anymore. Here's where patience becomes your friend. Wait 24 to 48 hours before using any dedicated tan removers. I know it's tempting to attack those orange patches immediately, but trust me - letting the tan fully develop first makes removal products work much more effectively. Trying to remove a partially developed tan often leads to patchy, uneven results that look worse than the original problem.
What's the best way for how to get fake tan off hands around my cuticles and nails?
Those tiny areas around your nails are absolute magnets for excess tan, and they're the hardest spots to fix. The Q-tip method is your best friend here.
Right after tanning, grab a damp cotton swab and carefully trace around your cuticles and under your nail beds. This precision tool lets you remove product from those crevices without disturbing the tan on your hands.
For stubborn, developed tan around your nails, try making a thick paste with baking soda and lemon juice. Apply just a tiny dab to the problem areas, let it sit for about a minute, then rinse thoroughly. The lemon's natural acidity helps break down the color while the baking soda gently buffs it away.
As a last resort for really stubborn spots directly on the nail (not your skin!), you can use nail polish remover on a cotton swab - but be super careful. Acetone is harsh and drying, so apply it only to the exact spot, then wash and moisturize immediately. Honestly though, prevention is your best bet - a little barrier cream on those cuticles before you start tanning saves so much hassle later.
Can I just scrub really hard to get it off?
Please don't! I totally understand the urge to attack those orange patches with everything you've got, but aggressive scrubbing will make things so much worse.
Hard scrubbing leads to irritation, redness, and even tiny tears in your skin - none of which help your cause. Plus, you'll end up with uneven patches where some areas are completely stripped while others still have dark tan. We call this the "ghostly gloves" look, and it's not cute.
Instead of going full Lady Macbeth on your hands, stick to gentle, consistent exfoliation. Use a soft washcloth or exfoliating mitt with your chosen removal method, whether that's a DIY baking soda paste or a dedicated tan remover. Your skin will thank you, and you'll get much better, more even results. We're aiming for a gradual fade, not a complete skin overhaul!
Your Flawless Glow Awaits
Getting how to get fake tan off hands right doesn't have to feel like rocket science. After years of perfecting self-tanning formulas and helping thousands achieve their dream glow, I've learned that success comes down to three simple principles: prevention is best, act fast when mistakes happen, and always choose gentle removal over aggressive scrubbing.
The truth is, most orange palm disasters can be avoided entirely. When you use an application mitt, moisturize those dry spots first, and master your technique, you're already ahead of 90% of self-tanning mishaps. But life happens - maybe you touched a door frame mid-application or forgot to wipe your palms immediately. That's when quick action saves the day.
For those stubborn, developed stains that seem impossible to budge, patience wins over power. Whether you're reaching for that baking soda and lemon paste from your kitchen or investing in a dedicated tan remover, your skin will thank you for taking the gentle approach. Harsh scrubbing might feel satisfying in the moment, but it leads to irritation, patchiness, and damaged skin.
Here's what I've learned matters most: moisturize always. After any removal method, your skin needs that hydration boost. It keeps your skin healthy, prevents dryness, and helps any remaining tan fade naturally and evenly.
At 3VERYBODY, we believe in a perfect tan from head to toe - one that improves your natural beauty without screaming "fake tan." Our non-orange formulas work on every skin tone because everyone deserves that confidence boost of a flawless glow.
Ready to nail your next tan without the hand drama? Explore our self-tanning solutions and find why thousands trust 3VERYBODY for their perfect glow.